Table of Contents
When it comes to creating container candles, the process is not that difficult if you know exactly what you are doing. These types of candles make wonderful gifts for any occasion. You can create candles with a basic design or you can customize each candle for the recipient so that it fits their personality or their interests. Get creative with this aspect of container candle making because that is what makes it special but if at first you want to try to do a basic candle just to get the feel of it, that is just fine. So, let us go through the basic steps for container candle making. At the end, you will be completely ready to do it on your own.
Choose your container
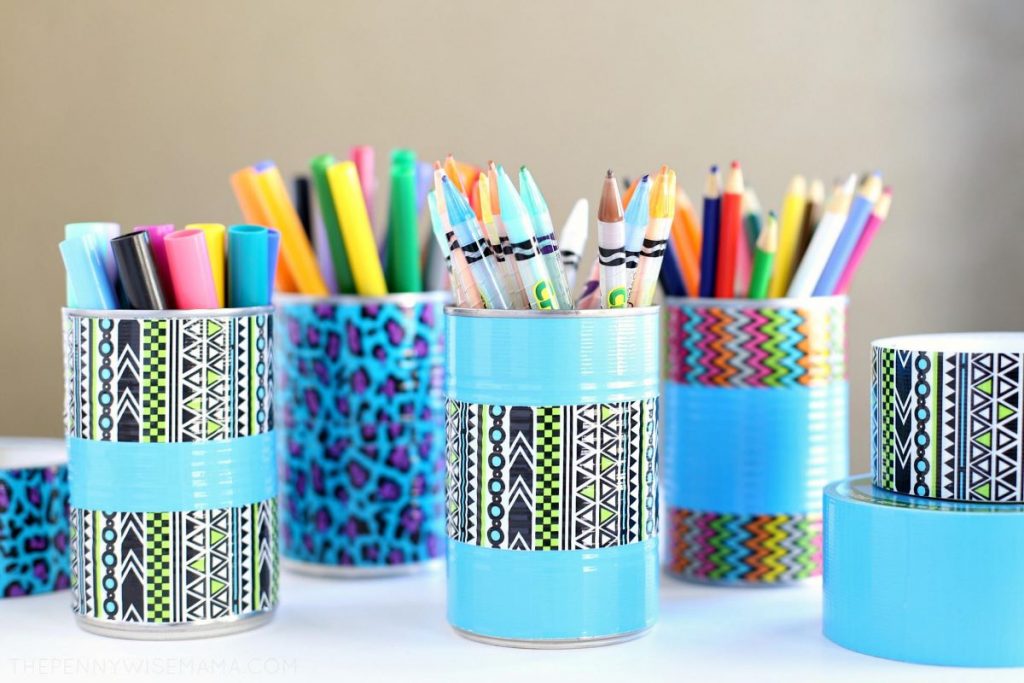
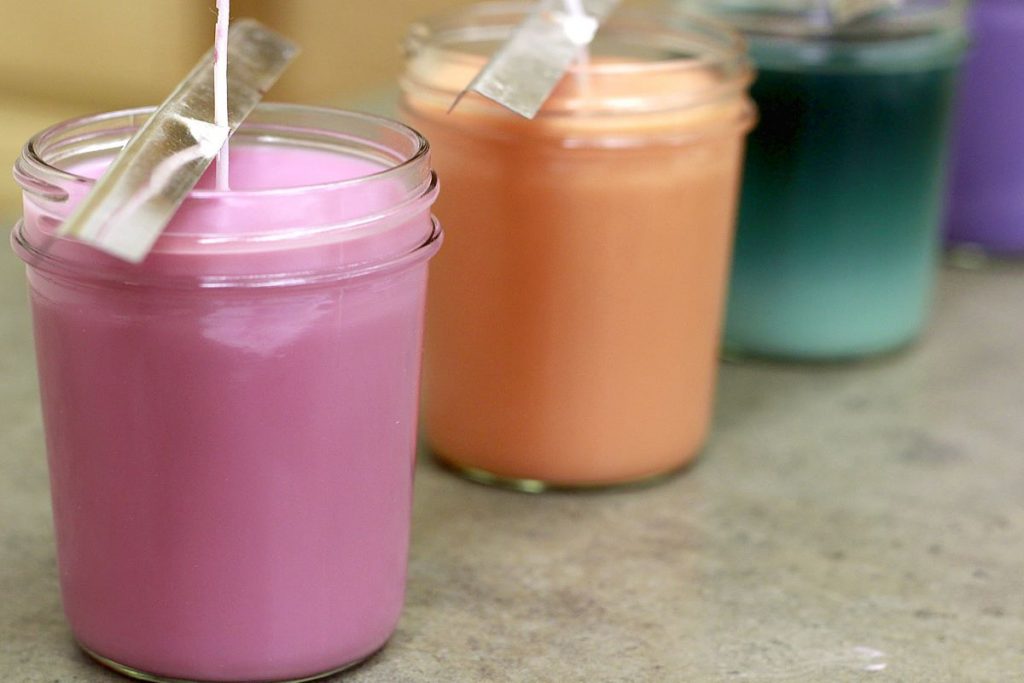
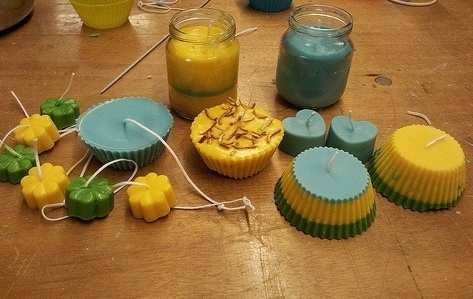
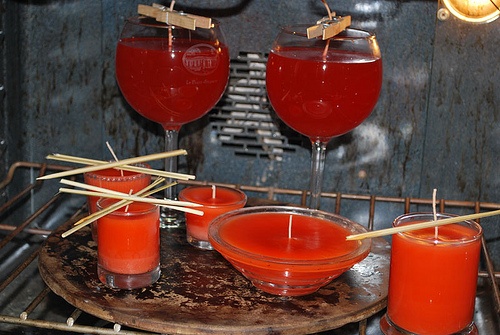
First, you need to choose the container for your candle. Almost anything can be a candle container but you will find that some materials work better than others do. Depending on what you choose, you will find that some containers need to be prepared before they can correctly be used. Old tins are a popular candle container and do not require special preparation. Glass containers are very popular and rightly so. You can be more creative with glass container candles because you can see all of the candle wax through the container.
You can create different effects with different pouring methods or types of wax. Have fun with it! If you do decide to use glass, make sure it is heavy or tempered so that it does not break from the heat of the candle wax. Porcelain and terracotta pots are also very popular containers for candles. Most of these pots have a drainage hole at the bottom because they are typically used for plants so be sure to plug this up somehow, probably with a wax adhesive, before you begin. If you decide to use a terracotta pot, you will need to apply a glaze to the interior because otherwise the material will soak up your oils in the wax. The best part about using a porcelain or terracotta pot is the fact that you can paint the exterior and make the container more personal.
Choose your wax
Now it is time to choose the type of wax you are going to use to create your candles. There are many to choose from and each have their bonuses. Paraffin wax is the most common wax because it accepts dye and scents easily but there is some work involved in using this wax. Usually you need some additives to lengthen the time the candle will burn and as a way to control the texture of it while it is setting. Another popular option is a gel wax because it is clear and you can suspend objects in the wax. This is a popular wax for glass containers and a wonderful way to personalize the candle. Creme waxes are also commonly used because it is white and the colors you add will appear softer. Beeswax and soy wax as not as common. Take your time and choose the right type of wax for you and your specific project. They each have their strengths and weaknesses and that should be taken into account.
You can now proceed to candle making
Now that the tough decisions have been made, it is time to make your candle! First you will need to prepare your wick and seal it to the bottom of your container. Heat the wax to the correct temperature (check your label for the specific details for that wax), add your dye, and test the wax on paper. If the color is right, then you can add your scent. Now you are ready to pour! Fill your container but make sure you leave 1/4 to 1/2 of an inch of space between the rim and your wax.
You are not done yet! While the wax is cooling, a space will be left around the wick called a well. Fill this area as it forms and completely cover the surface with new wax. Repeat this process until you only have 1/8 to 1/4 of an inch between the rim and your wax. Now you have completed your container candle making process. Candles are perfect decor elements and can be unique gifts too.