Table of Contents
Few people are fascinated by designing sculptures or designs like faces in wood with wood whittling tools. It’s more than a hobby. If you are one of them, then clearly you are at a right place to fetch more valuable information about it.
I’m presenting a comprehensive guide about wood whittling for curious beginners to make them more knowledgeable about this art of innovation.
There are some of the basic things which you would require to start carving into the wood. It can be divided into two categories first, the tool required for carving and second, the safety equipment. The first category includes tools for giving the shape such as a chisel, chainsaws etc., to draw/sketch on the wood such as pencil, sketch pens, markers, etc. And the later includes protective gears such as safety gloves, safety shoes, helmets, etc. Though we are indulging in fun activity, we can’t neglect the safety part. As safety comes first.
Let’s Begin:
Get ready with your protective gears then take a wooden log or a wooden piece. Ensure that you have a good quality of wooden log as you have to give a finishing touch from a sandpaper later or might be possible, you want to place it outside. So, choose accordingly.
Next, start drawing on it with the help of a sketch or marker as per your preferred design. As it’s better to make a prior mistake then later when you can’t omit. This step will help you to figure out some of the upcoming problems with carving and also let you understand how to overcome. Also, it will give you a rough figure of your design.
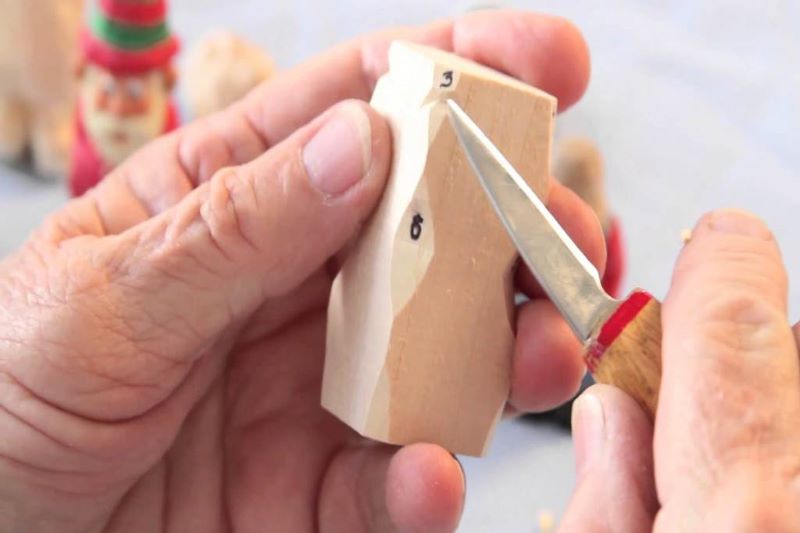
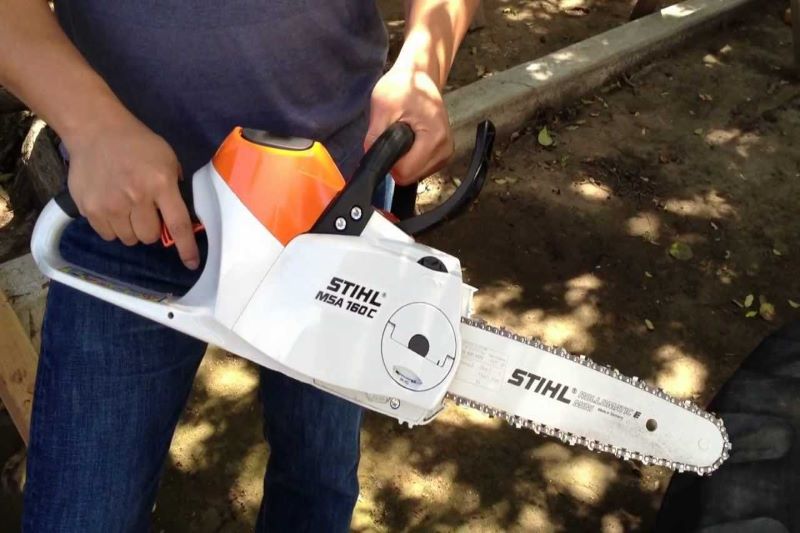
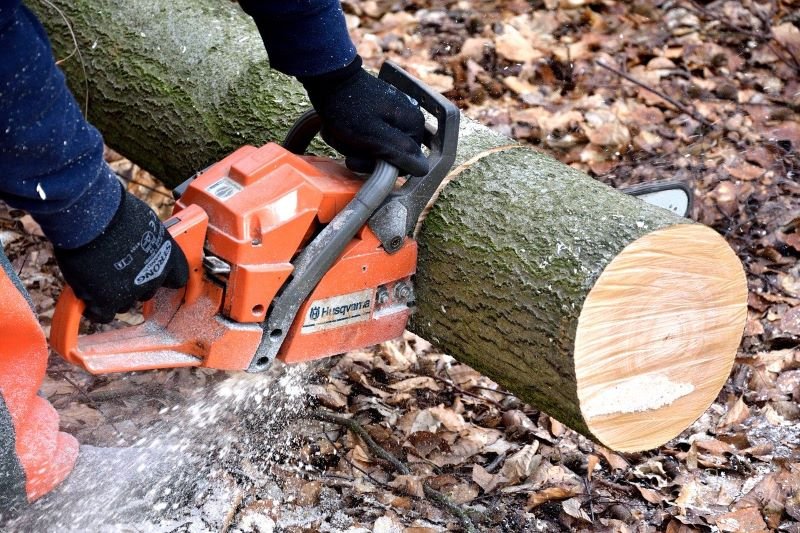
Now, take the chisel or a chainsaw. Though chainsaw is used to cut out a large portion of the log if not required don’t use it. For a smaller portion use a chisel or knife which has a sharp tip and start carving.
While carving, never hurry to chip off the bigger part. Start with these basic technique slowly and steadily. Carefully, dig the knife into the wood, forming an angle to remove the unwanted wood. You will see, the wood is coming out in a curled form. If not, then you are still in the wrong direction. Well, nothing is wrong with it as well, as you will learn the carving with practice. It’s more about learning. Always, take time and have a look at what you are doing.
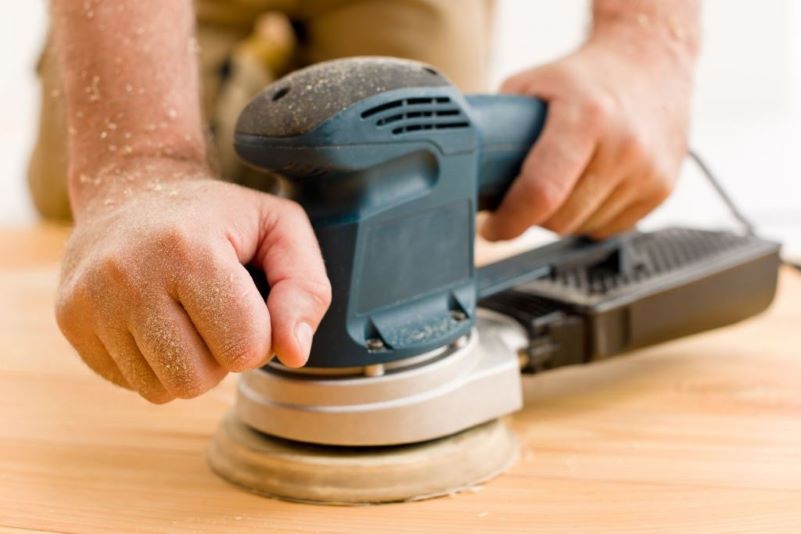
The last step is finishing. Use a sandpaper or an emery paper to give a smooth finish. Rub the carved wood with sandpaper until you get it smooth. And here you go, you got your sculpture. You can place this sculpture in your garage, or better yet – in your living room to enhance your home’s beauty as CozyStream recommends.
Things to Keep in Mind While Carving:
- Always ensure safety from sharp tools and keep safety box handy.
- Use softwood which is fragile.
- Make sure you know about these terms, Fundamental of maintenance and operation.
- It might be possible that your final sculpture is different from what you thought. So, don’t overthink about that as it takes years to excel in carving.
- The most important part is you’ll enjoy.
Ready for Final Touch:
Though it is advised not to do mistake, after numerous suggestions we do mistakes. We all are humans we make mistakes. Different treatments are given for the different type of damage. So, here are some of the methods to fix the wooden carving:
Barb lines:
There are some of the unwanted lines gets carved on the wooden log. So, in order to fill these lines, we use fillers and build up materials like epoxies. Generally, it come in variety such as quick cure epoxy. Again, if there is a positive point there’s a negative too. Epoxy gets softened due to the heat. To overcome this problem a regular maintenance is required.
Texture:
To match the texture again different fillers are used.
Removal of excess material:
There are few places which are not reachable so to cut the wood from there we can use special tools such as carbide cutter. For grinding, there is a ceramic stone rod.
Crack:
It is also done to prevent damage to the wood carving. Mostly it is used to prevent the cracks in wood carve.
Woodworm:
Wood gets damaged by the woodworm which causes a hole in them. To prevent them from it, painting is the best option.
