Table of Contents
Introduction
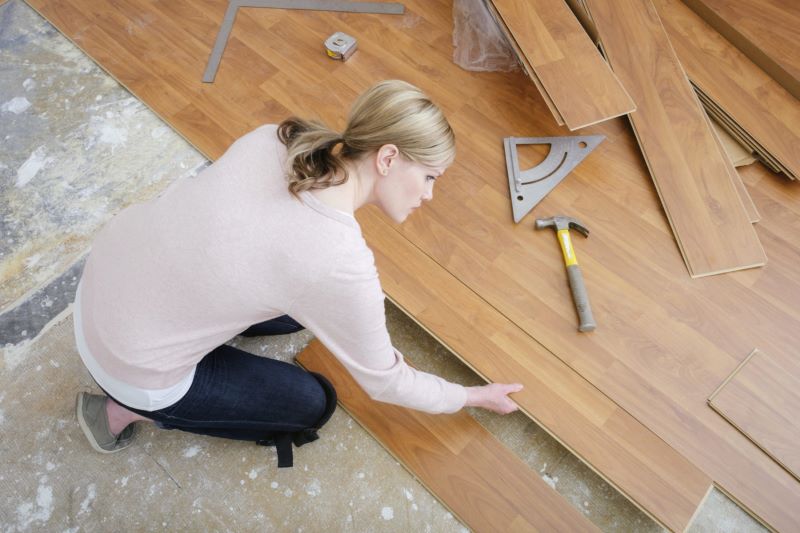
Laminate flooring is a popular choice for homeowners due to its affordability, durability, and aesthetic appeal. However, to ensure its longevity and maintain its integrity, proper installation and maintenance are essential. One critical aspect often overlooked is caulking. In this comprehensive guide, we will delve into the world of caulking laminate flooring, covering everything from its importance to step-by-step techniques and troubleshooting common issues.
Understanding the Importance of Caulking
Preventing Moisture Damage
Caulking serves as a barrier against moisture, preventing water from seeping into the gaps and joints of laminate flooring. This is crucial in areas prone to spills or high humidity levels, as moisture can lead to warping, swelling, and other forms of damage.
Enhancing Aesthetic Appeal
Well-applied caulk creates a seamless finish, enhancing the overall appearance of laminate flooring. It conceals gaps and imperfections, providing a polished and professional look to your flooring installation.
Increasing Lifespan of Laminate Flooring
Caulking helps to reinforce the structural integrity of the flooring by sealing potential entry points for dust, dirt, and debris. This, in turn, prolongs the lifespan of the laminate, reducing the likelihood of wear and damage over time.
Choosing the Right Caulk
Types of Caulks Suitable for Laminate Flooring
Understanding the different types of caulks available is crucial for a successful application. Silicone, latex, and acrylic are popular choices, each with its own set of advantages and considerations.
1. Silicone Caulk:
Advantages:
- Excellent flexibility and durability.
- High resistance to moisture, making it ideal for areas prone to water exposure.
- Good adhesion properties to various surfaces, including laminate flooring.
- Retains its elasticity over time, allowing for natural movement of the flooring.
- Resistant to mold and mildew growth.
Considerations:
- Can be more challenging to work with due to its thicker consistency.
- Cleanup requires specific solvents, as water is not effective.
2. Latex Caulk:
Advantages:
- Easy to work with and clean up, as it can be diluted with water.
- Quick drying time, allowing for faster project completion.
- Good adhesion properties and flexibility.
- Available in a wide range of colors for better color matching.
- Low odor and low VOC content, make it safer for indoor use.
Considerations:
- Not as moisture-resistant as silicone caulk, so it may not be suitable for high-moisture areas.
3. Acrylic Caulk:
Advantages:
- Easy to work with and clean up with water.
- Quick drying time, similar to latex caulk.
- Good adhesion properties and flexibility.
- Available in a range of colors for customization.
- Low odor and low VOC content, making it environmentally friendly.
Considerations:
- May not be as moisture-resistant as silicone caulk, so it may not be suitable for high-moisture areas.
4. Polyurethane Caulk:
Advantages:
- Extremely durable and long-lasting.
- Offers excellent adhesion and flexibility.
- Resistant to moisture, making it suitable for high-moisture environments.
- Can be painted over once cured for better color matching.
- Can be used for both indoor and outdoor applications.
Considerations:
- Longer curing time compared to other types of caulk.
5. Butyl Rubber Caulk:
Advantages:
- Exceptional adhesion and flexibility.
- Excellent water and weather resistance.
- Suitable for both indoor and outdoor applications.
- Long-lasting and durable.
- Can be painted over once cured.
Considerations:
- Not as commonly used as silicone or latex caulk.
6. Hybrid Caulk:
Advantages:
- Combines properties of different caulk types for versatile performance.
- Good adhesion and flexibility.
- May be suitable for a wide range of applications.
- Can be used both indoors and outdoors.
Considerations:
- Specific formulations may vary, so it’s important to check compatibility with laminate flooring.
- Choosing the right type of caulk depends on factors such as the environment, expected usage, and personal preferences. Each type has its unique strengths, so selecting the most appropriate one for your specific laminate flooring project will help ensure a successful application and long-lasting results.
Factors to Consider When Selecting Caulk
- Flexibility: The caulk used for laminate flooring should have a degree of flexibility. This is important because laminate flooring can expand and contract with changes in temperature and humidity. A flexible caulk will be able to move with the flooring, preventing cracks or gaps from forming.
- Color Matching: It’s crucial to choose a caulk color that closely matches the color of the laminate flooring. This ensures that the caulk seamlessly blends in with the flooring surface, creating a cohesive and polished look. Many caulk manufacturers offer a range of colors to choose from.
- Ease of Application: The caulk should be easy to apply using a caulking gun. It should have a smooth and consistent texture, allowing for precise application without clumping or dripping. This factor is important for achieving a professional finish.
- Adhesion Properties: The caulk should have strong adhesion properties to effectively seal gaps and joints in the laminate flooring. It should adhere well to both the flooring material and any adjacent surfaces, such as walls or baseboards.
- Durability: The selected caulk should be durable and long-lasting. It should be able to withstand regular foot traffic, cleaning, and other stresses without deteriorating or losing its effectiveness over time.
- Water Resistance: Since moisture is a common threat to laminate flooring, it’s important to choose a caulk that offers good water resistance. This helps prevent water from seeping into the gaps and potentially causing damage to the flooring.
- Mold and Mildew Resistance: A caulk that is resistant to mold and mildew growth is particularly important in areas where moisture levels may be higher, such as bathrooms or kitchens. This helps maintain a clean and hygienic environment.
- Indoor Air Quality: Some caulk formulations may emit volatile organic compounds (VOCs) which can be harmful to indoor air quality. It’s advisable to choose a low-VOC or VOC-free caulk to minimize any potential health risks.
- Compatibility with Laminate Flooring Material: Different types of laminate flooring may have specific requirements in terms of the types of caulk that can be used. It’s important to ensure that the chosen caulk is compatible with the specific type of laminate flooring being installed.
- Budget Considerations: Cost is a practical consideration. While it’s important to invest in a high-quality caulk, it’s also beneficial to find a product that fits within your budget.
By taking these factors into consideration, homeowners can make an informed decision when selecting caulk for their laminate flooring project. This ensures that the chosen caulk will effectively seal gaps and joints, enhancing the overall durability and appearance of the flooring.
Preparation Before Caulking
Gathering Necessary Tools and Materials
Before beginning the caulking process, it’s important to have all the required tools and materials on hand. This includes caulk, a caulking gun, a putty knife, and other essentials to ensure a smooth application.
Cleaning and Preparing the Flooring Surface
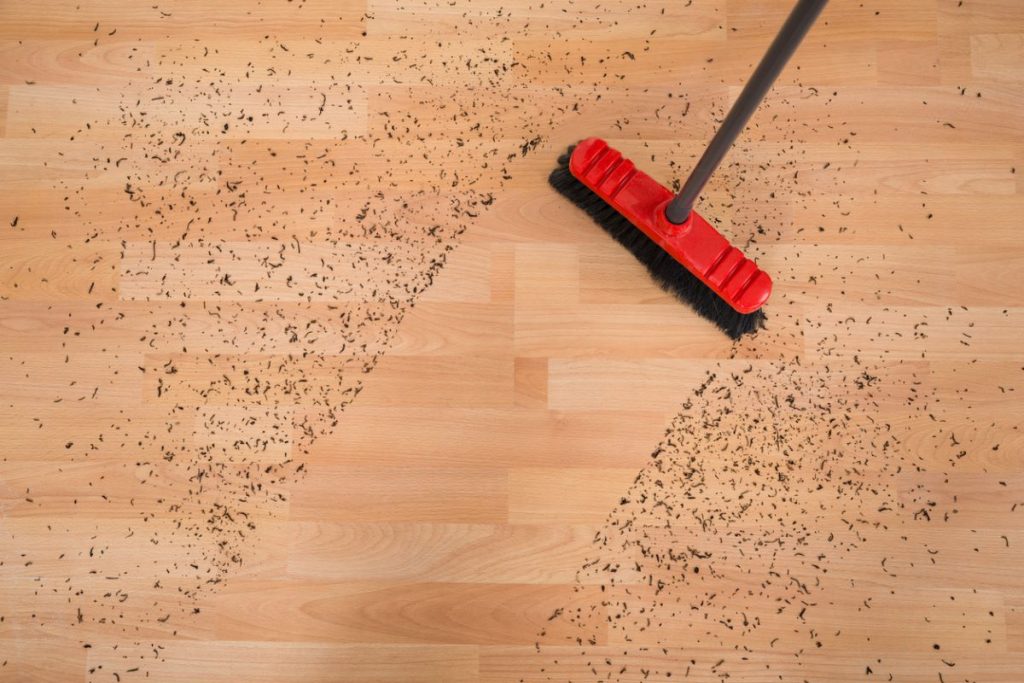
Before applying caulk, it’s essential to start with a clean and debris-free surface. This ensures that the caulk adheres properly and provides a tight seal. Any dirt, dust, or debris on the surface can hinder the effectiveness of the caulk.
Step-by-Step Instructions:
1. Gather Necessary Tools:
- Utility Knife: This tool will be used to carefully remove any existing caulk or adhesive residue.
- Vacuum Cleaner or Broom: For cleaning up loose debris and dust.
- Damp Cloth or Sponge: To wipe down the surface after initial cleaning.
2. Remove Existing Caulk or Adhesive Residue:
Using the utility knife, carefully and gently scrape away any old caulk or adhesive residue from the joints or gaps in the flooring. Take care not to damage the flooring material itself.
3. Vacuum or Sweep the Surface:
Use a vacuum cleaner or broom to thoroughly clean the entire surface of the laminate flooring. This will help remove any loose dirt, dust, or debris.
4. Damp Cloth or Sponge Wipe-Down:
Dampen a cloth or sponge with water and thoroughly wipe down the surface. This will help remove any remaining traces of dust or debris and ensure a clean, smooth surface for the caulk application.
5. Allow Surface to Dry:
It’s important to allow the surface to air dry completely before proceeding with the caulking process. This ensures that there is no residual moisture that could affect the caulk’s adhesion.
6. Additional Considerations:
If the surface has stubborn stains or residues that water alone cannot remove, consider using a mild cleaning solution recommended for laminate flooring. Always test the solution in an inconspicuous area first to ensure it does not damage the flooring.
If the laminate flooring is brand new, ensure that any protective coatings or residues from the manufacturing process are completely removed before applying caulk.
By following these step-by-step instructions, you’ll be able to effectively clean and prepare the flooring surface for caulking. This ensures that the caulk adheres properly, providing a tight seal and a professional finish.
Ensuring Proper Ventilation
Good ventilation is crucial during the caulking process to allow for proper drying and to prevent the buildup of fumes. This section offers tips on how to ensure a well-ventilated workspace.
1. Importance of Proper Ventilation:
- Drying Time: Adequate ventilation helps the caulk dry and cure properly. This ensures that it sets and forms a strong seal.
- Fume Dispersal: Caulk can emit fumes, especially during the curing process. Proper ventilation helps disperse these fumes, preventing them from accumulating in the workspace.
- Safety: Ventilation is essential for maintaining good air quality, and reducing the risk of inhaling potentially harmful fumes.
2. Tips for Ensuring Proper Ventilation:
- Open Windows and Doors: If possible, open windows and doors in the room where you’re applying the caulk. This allows fresh air to circulate and helps disperse any fumes.
- Use Fans or Ventilation Systems: If there are no windows or the room lacks natural ventilation, use fans or ventilation systems to help circulate the air.
- Consider an Exhaust Fan: If the room has an exhaust fan, turn it on to help remove fumes and maintain good air quality.
- Avoid Confined Spaces: If possible, avoid working in small, enclosed spaces with limited airflow. If you must work in such a space, take extra precautions to ensure proper ventilation.
- Use Personal Protective Equipment (PPE): If ventilation is limited, consider wearing a respiratory mask or protective equipment to minimize inhalation of fumes.
- Follow Manufacturer’s Recommendations: Always follow the caulk manufacturer’s specific guidelines regarding ventilation and safety precautions. They may provide additional recommendations based on the type of caulk being used.
- Allow Sufficient Time for Ventilation: Before re-entering the room or closing it off after caulking, ensure that there has been enough time for proper ventilation. This may vary depending on factors like room size, airflow, and the type of caulk used.
3. Considerations for Indoor vs. Outdoor Applications:
- For indoor applications, ensure that there is adequate cross-ventilation. For outdoor projects, the need for ventilation may be less critical, but it’s still important to work in a well-ventilated area.
By following these tips, you’ll create a safer working environment and ensure that the caulk cures properly. This helps maintain good indoor air quality and prevents the buildup of potentially harmful fumes during the caulking process.
Step-by-Step Caulking Process
Selecting the Appropriate Caulking Technique
This section introduces two common techniques – the Butt Joint Technique and the Tongue and Groove Technique. It explains when and how to apply each technique based on the specific characteristics of your laminate flooring.
1. Butt Joint Technique:
The Butt Joint Technique involves applying caulk to the seam or joint where two pieces of laminate flooring meet end-to-end, creating a “butt” joint. This technique is used when the edges of the laminate planks meet squarely without any overlap.
When to Use:
- Straight-Edged Laminate: If your laminate flooring has straight, square edges that meet cleanly, the Butt Joint Technique is typically the best choice.
How to Apply:
- Load the caulk into the caulking gun and cut the nozzle at a 45-degree angle.
- Apply a steady and even bead of caulk along the seam where the two pieces of laminate flooring meet.
- Use a caulk smoothing tool or a damp cloth to smooth and shape the caulk into a neat, seamless joint.
Benefits:
- Provides a clean, professional finish where planks meet squarely.
- Minimizes the appearance of seams.
2. Tongue and Groove Technique:
The Tongue and Groove Technique involves applying caulk along the edges of the tongue and groove joints of laminate flooring. The tongue and groove joints are the interlocking edges of the planks that create a tight fit.
When to Use:
- Laminate with Interlocking Edges: If your laminate flooring has tongue and groove edges that fit together like a puzzle, this technique is suitable.
How to Apply:
- Apply a small bead of caulk along the edge of the tongue or groove of one plank.
- Press the planks together to lock the joint, spreading the caulk evenly along the edges.
- Use a damp cloth or caulk smoothing tool to remove any excess caulk and create a seamless joint.
Benefits:
- Provides an extra layer of protection to the joints, enhancing moisture resistance.
- Helps maintain the integrity of the interlocking mechanism.
Considerations:
- Matching the Technique to Your Laminate: It’s important to assess the type of edges your laminate flooring has. If it’s a straight edge, the Butt Joint Technique is appropriate. If it’s tongue and groove, then the Tongue and Groove Technique is the right choice.
- Ensuring Consistent Application: Regardless of the technique, it’s important to apply the caulk consistently along the joint or edge to ensure a seamless and effective seal.
By understanding the characteristics of your laminate flooring and selecting the appropriate caulking technique, you’ll be able to achieve a professional finish and ensure the longevity of your flooring.
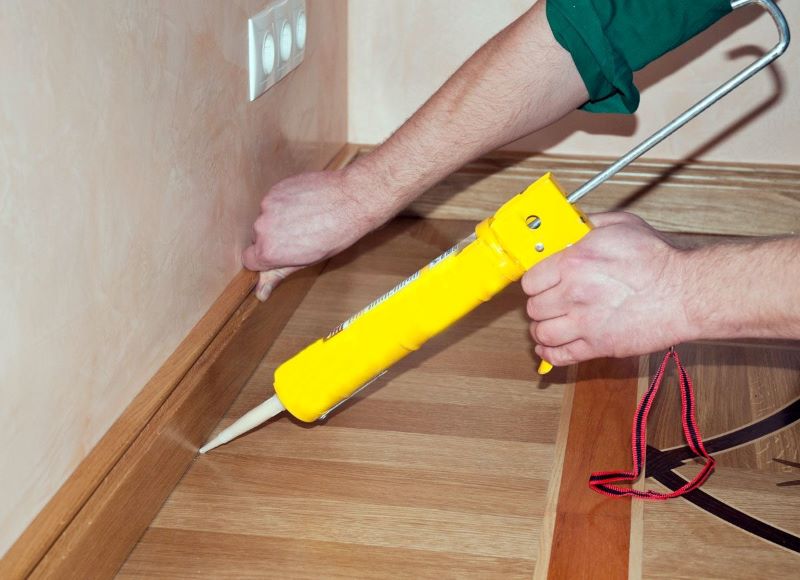
Applying the Caulk
Detailed instructions on how to apply the caulk, including the recommended angles for application and tips for achieving a consistent bead thickness.
- Load the Caulk Gun:
- Load the caulk into the caulking gun, making sure it’s securely fitted. Cut the nozzle of the caulk tube at a 45-degree angle to allow for smooth and controlled application.
- Hold the Caulk Gun at the Right Angle:
- Hold the caulking gun at a 45-degree angle to the joint or seam. This angle allows for controlled dispensing of the caulk and helps ensure that it’s evenly distributed.
- Apply a Steady Bead of Caulk:
- Squeeze the trigger of the caulking gun with consistent pressure to release a steady bead of caulk along the joint or seam. Keep a consistent pace to achieve an even application.
- Avoid Gaps or Overlaps:
- Be careful not to leave gaps or overlaps in the caulk bead. This can compromise the effectiveness of the seal. Pay attention to the flow of caulk to ensure it fills the entire joint.
- Smooth the Caulk:
- Immediately after applying the caulk, use a caulk smoothing tool, a damp cloth, or your finger (wearing a disposable glove) to smooth out the caulk. This helps create a seamless finish and ensures it adheres well to the surface.
- Remove Excess Caulk:
- If there’s any excess caulk, wipe it away with a damp cloth. This will leave a clean and professional-looking finish.
Smoothing and Finishing
This section covers the tools and techniques needed to achieve a professional finish. It provides guidance on smoothing out the caulk to create a seamless look.
- Caulk Smoothing Tools:
- Caulk smoothing tools, often made of plastic or rubber, are designed to help achieve a smooth and even finish. They have curved edges that can be used to shape the caulk into a neat joint.
- Damp Cloth or Sponge:
- A damp cloth or sponge can also be used to smooth out the caulk. Simply moisten the cloth or sponge and gently run it over the caulk to create a seamless finish.
- Finger (with Glove):
- If you don’t have a caulking tool or cloth, you can use your finger (wearing a disposable glove) to smooth out the caulk. Make sure to moisten your finger slightly to prevent sticking.
- Techniques for Smoothing Caulk:
- Apply even pressure while using the smoothing tool, cloth, or your finger to ensure the caulk fills any gaps or imperfections. Work in a consistent motion along the entire length of the caulk bead.
- Inspect the Finish:
- After smoothing, inspect the caulked area to ensure it’s seamless and well-adhered. Address any areas that may need touch-ups.
By following these steps and techniques, you’ll be able to apply caulk with precision and achieve a professional finish, ensuring a tight seal that protects your laminate flooring effectively.
Drying and Curing Time
Understanding the factors that influence drying time is essential for a successful caulking job. This section provides insights into what affects drying time and offers best practices for allowing the caulk to cure properly.
Drying vs. Curing:
- Drying: This is the initial phase where the outer layer of the caulk begins to harden. During this stage, the caulk may feel dry to the touch, but it is not fully cured.
- Curing: Curing is the process of the caulk reaching its full strength and adhesion properties. It involves the complete chemical and physical transformation of the caulk, which can take longer than drying.
Factors Influencing Drying and Curing Time:
- Type of Caulk: Different types of caulk have varying drying and curing times. For example, silicone caulk may take longer to cure compared to latex or acrylic caulk.
- Temperature and Humidity: Higher temperatures and lower humidity levels generally lead to faster drying and curing times. Conversely, cooler temperatures and higher humidity levels can slow down the process.
- Thickness of Caulk Bead: Thicker beads of caulk may take longer to dry and cure compared to thinner, more even applications.
- Ventilation: Proper ventilation aids in the drying and curing process. Well-ventilated areas allow moisture to evaporate, which can expedite the process.
- Manufacturer’s Recommendations: Always refer to the manufacturer’s instructions for specific guidelines on drying and curing times for the particular type of caulk you’re using.
Best Practices for Allowing Caulk to Cure Properly:
- Follow Recommended Drying Time: Allow the caulk to dry for the amount of time specified by the manufacturer. Avoid touching or disturbing the caulk during this period.
- Avoid Moisture Exposure: Keep the caulked area dry and avoid any exposure to moisture during the drying and curing process. Moisture can interfere with the curing process.
- Maintain Adequate Ventilation: Ensure that the area remains well-ventilated to allow for proper evaporation and curing of the caulk.
- Patience is Key: It’s important to be patient and allow the caulk to fully cure before subjecting it to any stress or load-bearing activities.
- Monitor and Inspect: Periodically check the caulked area to ensure it’s curing properly. Address any issues promptly.
- Avoid Heavy Traffic: If the caulk is in a high-traffic area, consider placing barriers or signs to prevent people from walking on it until it’s fully cured.
By understanding these factors and following best practices, you’ll ensure that the caulk properly dries and cures, providing a strong and effective seal for your laminate flooring. This contributes to the longevity and integrity of the installation.
Maintenance and Cleaning After Caulking
Routine Inspection and Touch-Ups
Regularly inspecting the caulked areas helps identify any signs of wear or damage early on. This section guides you on how to conduct routine checks and provides tips on when and how to perform touch-ups.
How to Conduct Routine Checks:
- Visual Inspection: Examine the caulked areas for any visible signs of cracks, gaps, or peeling.
- Run Your Finger Along the Caulk: Gently run your finger along the caulked joints to check for any irregularities or areas that may need attention.
- Look for Discoloration: Keep an eye out for any changes in color or texture, which may indicate potential issues with the caulk.
When to Perform Touch-Ups:
- If you notice any signs of wear or damage during the routine inspection, it’s advisable to perform touch-ups promptly. This involves applying a fresh layer of caulk to areas that require reinforcement.
How to Perform Touch-Ups:
- Clean the Area: Start by cleaning the area thoroughly to remove any dirt, debris, or old caulk.
- Apply New Caulk: Use a caulking gun to apply a fresh bead of caulk to the affected area. Ensure that it’s applied evenly and smoothly.
- Smooth and Finish: Use a caulk smoothing tool or a damp cloth to smooth out the caulk and create a seamless finish.
Cleaning Tips for Caulked Laminate Flooring
Proper cleaning techniques are essential for maintaining the appearance and integrity of caulked laminate flooring. This section offers practical advice on how to clean and care for your flooring to ensure its longevity.
- Recommended Cleaning Methods:
- Sweep or Vacuum Regularly: Use a soft-bristle broom or a vacuum cleaner with a brush attachment to remove dirt and debris from the surface of the flooring.
- Damp Mopping: For deeper cleaning, use a damp (not soaking wet) mop with a mild laminate flooring cleaner or a mixture of water and a few drops of dish soap.
- Avoid Harsh Chemicals: Avoid using abrasive or acidic cleaners, as they can damage the caulk and the laminate surface.
- Dealing with Spills or Stains:
- Address spills promptly to prevent them from seeping into the caulked joints. Use a clean cloth to blot up spills and clean the area with a mild laminate cleaner.
- Protective Measures:
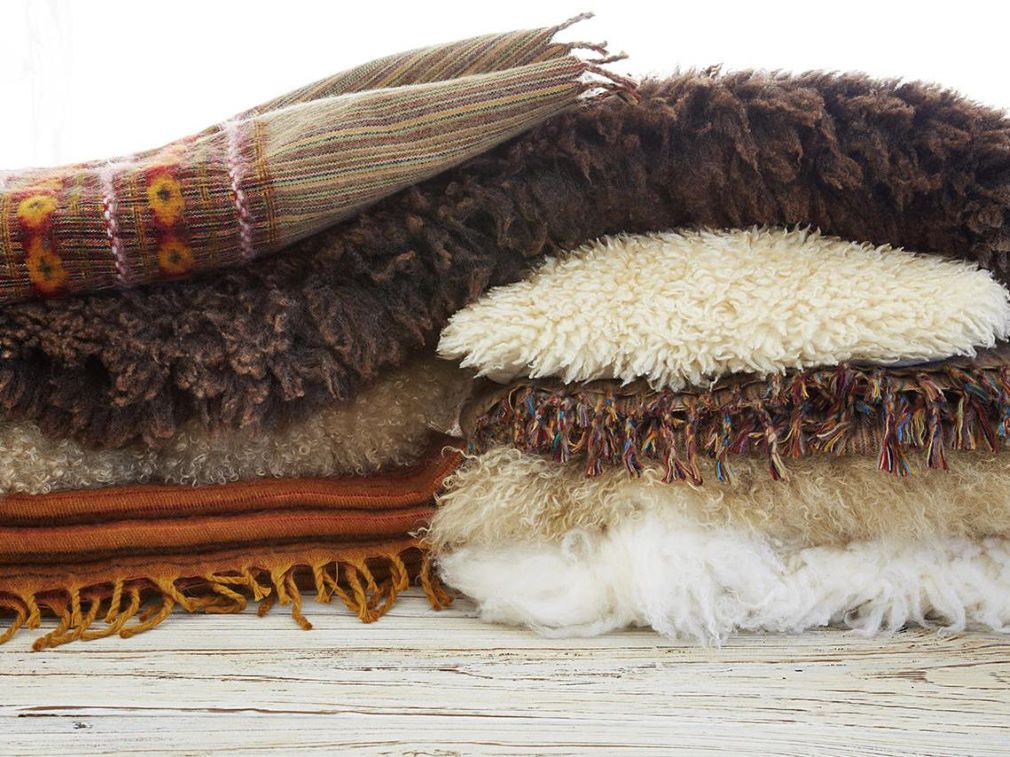
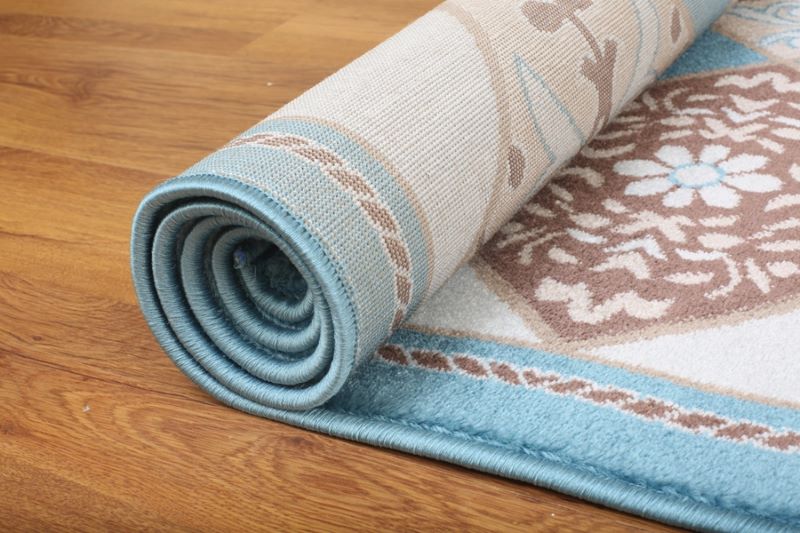
- Use mats or rugs in high-traffic areas to prevent excessive wear on the caulked joints. Avoid dragging heavy furniture across the flooring to minimize stress on the caulk.
- Regular Maintenance Schedule:
- Establish a regular cleaning routine to ensure that the caulked laminate flooring remains in top condition. This includes both routine sweeping or vacuuming and occasional damp mopping.
By following these maintenance and cleaning tips, you’ll be able to preserve the appearance and effectiveness of the caulked joints in your laminate flooring, contributing to its longevity and durability.
Troubleshooting Common Caulking Issues
Caulk Shrinking or Cracking
This section addresses common issues like caulk shrinking or cracking, explaining the potential causes and providing solutions to rectify the problem.
Potential Causes:
- Insufficient Drying Time: If the caulk doesn’t have enough time to dry and cure properly, it may shrink or crack as it continues to settle.
- Incorrect Caulk Type: Some caulk types may be more prone to shrinking or cracking, especially if they aren’t the best choice for the specific application.
- Excessive Movement or Stress: High levels of foot traffic, heavy loads, or structural movement can put stress on the caulk, causing it to crack or shrink.
Solutions:
- Allow Sufficient Drying and Curing Time: Ensure that you’ve given the caulk enough time to fully dry and cure before subjecting it to stress or loads.
- Choose the Right Caulk Type: Select a caulk that’s suitable for the specific application and environment to minimize the risk of shrinking or cracking.
- Address Underlying Issues: If excessive movement or stress is a recurring problem, consider addressing any underlying structural issues before reapplying caulk.
Caulk Discoloration
Discoloration of caulk can be a concern, especially in high-traffic areas. This section offers insights into why discoloration may occur and provides tips on how to prevent and remedy it.
Potential Causes:
- Exposure to Environmental Factors: Exposure to sunlight, moisture, or certain chemicals can cause caulk to discolor over time.
- Mold or Mildew Growth: In areas with high moisture levels, mold or mildew can develop on the caulk, leading to discoloration.
Prevention and Remedies:
- Use UV-Resistant Caulk: If the caulk is exposed to sunlight, consider using a UV-resistant caulk that’s less likely to discolor over time.
- Ensure Proper Ventilation: Adequate ventilation helps prevent moisture buildup, reducing the likelihood of mold or mildew growth.
- Regular Cleaning and Maintenance: Routinely clean and inspect caulked areas to address any early signs of discoloration. Use appropriate cleaning agents to remove mold or mildew.
Dealing with Excess Caulk
Sometimes, excess caulk may be applied during the caulking process. This section outlines how to deal with this situation, including techniques for removing excess caulk without causing damage.
Potential Causes:
- Overapplication: Applying too much caulk in one go can lead to excess caulk accumulating in the joints or seams.
Solutions:
- Immediate Cleanup: If the excess caulk is noticed during application, immediately wipe it away with a damp cloth or sponge before it dries.
- Use a Caulk Remover: If excess caulk has dried, consider using a caulk remover or a utility knife to carefully trim away the excess without damaging the surrounding area.
By understanding and addressing these common caulking issues, you can ensure that your caulked laminate flooring remains in top condition, providing an effective seal for years to come.
Additional Tips and Recommendations
Seasonal Considerations
Different seasons can impact the effectiveness of caulk. This section provides guidance on how to account for seasonal changes and ensure the caulk remains effective year-round.
Guidance:
- Temperature Variations: Different seasons bring changes in temperature and humidity levels, which can affect the properties of caulk. For example, caulk may expand and contract with temperature fluctuations.
- Inspect and Maintain: It’s important to perform routine inspections of caulked areas during seasonal changes. Look for any signs of wear, gaps, or damage that may have occurred due to seasonal shifts.
How to Account for Seasonal Changes:
- Choose Flexible Caulk: Opt for a caulk that has good flexibility and can accommodate changes in temperature without cracking or shrinking.
- Perform Seasonal Touch-Ups: Consider performing touch-ups to caulked areas at the beginning of each season to ensure they remain effective year-round.
- Monitor High-Risk Areas: Pay special attention to areas prone to temperature and humidity variations, such as near windows or exterior doors.
Using Caulk as a Preventative Measure
Caulking can also be used as a preventative measure to protect laminate flooring from potential damage. This section explores scenarios where preemptive caulking may be beneficial.
Scenarios for Preemptive Caulking:
- Around Water-Prone Areas: Apply caulk around areas prone to water exposure, like near sinks, tubs, or showers, to prevent moisture from seeping into the laminate flooring.
- Sealing Gaps in High-Traffic Areas: Apply caulk to seal gaps in high-traffic areas to prevent dirt and debris from accumulating in joints.
- Around Exterior Entry Points: Apply caulk around exterior doors and windows to prevent drafts and moisture from entering the home.
Benefits of Preemptive Caulking:
- Prevents Damage: Caulking in advance helps create a barrier against potential sources of damage, such as water, debris, or drafts.
- Prolong Flooring Lifespan: By preventing moisture and debris from infiltrating joints, preemptive caulking can help extend the lifespan of laminate flooring.
Selecting the Right Caulk for Prevention:
- Ensure you choose a caulk that’s suitable for the specific area you’re caulking. For example, use a waterproof caulk for areas prone to moisture exposure.
By considering seasonal changes and using caulk as a preventative measure, you can proactively protect your laminate flooring, enhancing its durability and longevity. These strategies help ensure that the caulk remains effective in various conditions and scenarios.
Safety Precautions
Proper Ventilation and Respiratory Protection
Safety should always be a priority. This section emphasizes the importance of proper ventilation and the use of respiratory protection to ensure a safe caulking process.
Importance of Safety:
- Priority: Safety should always be a top priority during any home improvement project, including caulking.
- Fumes and Ventilation: Caulk can emit fumes, and proper ventilation helps disperse these fumes, preventing them from accumulating in the workspace.
Guidance:
- Ventilation: Ensure that the area where you’re applying caulk is well-ventilated. This can be achieved by opening windows and using fans.
- Respiratory Protection: In cases where ventilation may be limited, consider wearing a respiratory mask to minimize inhalation of fumes.
Respiratory Protection Tips:
- Select Appropriate Mask: Choose a mask designed for use with caulk or similar chemicals. Look for masks with appropriate filtration capabilities.
Handling and Disposal of Caulk
Proper handling and disposal of caulk are essential for both personal safety and environmental responsibility. This section provides guidance on how to handle and dispose of caulk in an eco-friendly manner.
Importance of Proper Handling and Disposal:
- Personal Safety: Proper handling ensures that you don’t come into contact with any harmful substances.
- Environmental Responsibility: Eco-friendly disposal methods help protect the environment from potential harm.
Guidance:
- Handling:
- Follow the manufacturer’s instructions for safe handling of the caulk.
- Avoid contact with skin and eyes; wear appropriate protective equipment if needed.
- Disposal:
- Check Local Regulations: Be aware of local regulations regarding the disposal of caulking materials. Some areas may have specific guidelines for hazardous waste.
- Eco-Friendly Options: Look for recycling or disposal facilities that accept caulk or similar materials. Some may have programs for proper disposal.
- Avoiding Environmental Impact:
- Avoid dumping caulk or its containers in natural habitats, drains, or bodies of water, as it can be harmful to wildlife and the ecosystem.
- Consider Reusing or Donating: If you have an unused caulk, consider storing it properly for future use or donating it to a local organization or community project.
By following these safety precautions, you ensure that the caulking process is conducted in a safe and environmentally responsible manner. This protects both your personal well-being and the natural environment.
Conclusion
This section serves as a summary of the key takeaways from the guide. It reinforces the importance of proper caulking for laminate flooring and encourages readers to apply the knowledge gained to their own projects.
By following this comprehensive guide, readers will be equipped with the knowledge and skills needed to successfully caulk their laminate flooring, ensuring its longevity and aesthetic appeal for years to come.