Table of Contents
Whether you are renovating, building or just looking to make your bathroom look its best, making the most of tile and grout sealer is necessary. From saving you money to time spent cleaning, grout sealer is a simple yet effective option you cannot afford to ignore.
What is Grout Sealer & Does It Really Work?
As the name suggests, grout sealer is used to seal grout once it has dried. This creates a barrier that protects your grout from moisture and stains for improved aesthetic and functional results. It is recommended to use grout sealer on grout in any areas with tiles, including bathrooms and kitchens. Alternatively, you can purchase a multi-purpose sealer, which can be used for both tiles and grouts. Some are even specifically designed for certain tiles and grouts.
It is important to note, however, that grout sealer is only needed for cement-based grout. Epoxy and other synthetic grouts are naturally resistant to penetration from water. Additionally, if your grout has been dyed or coloured, a seal layer may already have been applied. However, these can be very expensive grouting options, even when factoring in the sealing needs of cement-based grout.
How the 2 Types of Grout Sealer Work
How the sealer creates a barrier between moisture and the grout depends on the type of grout sealer you choose. It is important to understand the difference between these sealers as some are better for use in certain spaces.
Penetrating Grout Sealer
These kinds of sealers have a water-base. This allows the formula to penetrate the naturally porous grout, so that it can keep moisture out. As a result, this kind of sealer is best used in particularly damp areas, like bathrooms, as there is less of a risk of water getting trapped under the grout or tiles.
You can also purchase versions of penetrating grout sealer that can help maintain or change the colour of your grout. This can be highly effective for creating a dramatic contrast with or to complement your tiles.
Non-Penetrating Grout Sealer
Unlike penetrating grout sealers, non-penetrating grout sealers create a coating or barrier on the surface of the grout to resist water penetration. Therefore, they are also called membrane-forming sealers.
These are an excellent choice for kitchens and other tiled areas that are less damp or moist than bathrooms. This is because if the seal is not fully intact or properly applied, water can become trapped underneath the tile and not evaporate. Then, mildew and mould can form.
The Awesome Benefits of Grout Sealer
Properly applied grout sealer is an efficient and effective way to make your grout water resistant and repel moisture. This stops the grout from absorbing water, bacteria and stains. There are many reasons why this is an excellent thing.
You Stop Mould & Mildew
Mould and mildew are something every homeowner fears. It can quietly grow and spread and then become a serious health risk, not to mention make your home cold and look dirty. However, with sealed grout, there is less opportunity for water to get trapped under your tiles to develop into mould and mildew.
You Keep Your Grout Looking Great for Longer
Because your grout has not been compromised by water, mildew and more, it will stay looking great for longer. The texture and consistency will remain the same so your aesthetic vision for your bathroom lasts.
Additionally, sealer can help to reduce the effects of everyday wear and tear, and the natural deterioration of your grout. This means it can last longer before it needs to be replaced.
You Save Money on Replacing Tiles & Grout
Because your tiles stay mildew and mould free, along with strong grout, you will not find yourself needing to replace the grout or relay tiles to get rid of mould and mildew. This can be an expensive and time consuming process, so applying a sealer now is certainly a much better option!
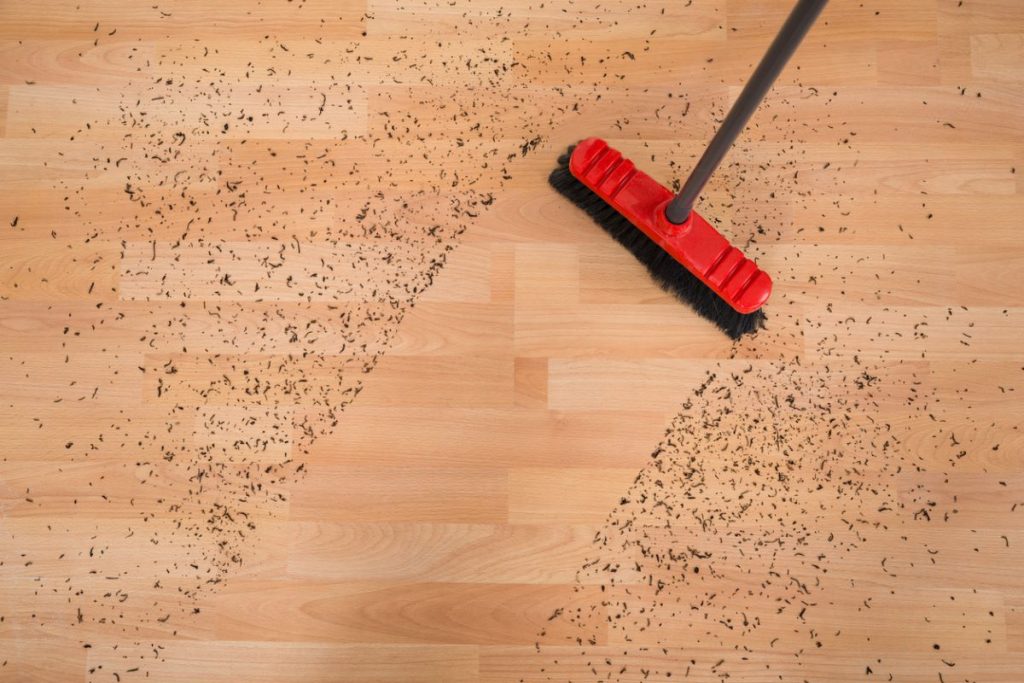
You Save Time Cleaning
Similarly, grout that has been sealed is easier to clean as you are not having to scrub out grime and mildew. For those who take pride in a sparkling bathroom, you can get the results you are after without having to scrub away your weekend.
You Can DIY It & It is Inexpensive
Unlike some home projects, sealing grout is something everyone can do, even if you are not much of a handyperson. The results are well worth it – it can just take a weekend or less – and it is very inexpensive to purchase, including the tools to apply it.
You Can Pre-Treat Some Tiles & Stones
Some sealers can also be used to pre-treat some types of tiles and stones before grouting. This can help with pigment staining, grout haze and bleached joints. Therefore, you get a better result and are less likely to need to redo any sections after the tiles have been installed because of flaws.
Choosing Your Grout Sealer
No doubt you are excited to try out grout sealer for yourself, but first you need to know which is right for you.
Consider the Area
Is the grout you are looking to seal in a high-moisture or water area? Then you will need a penetrating sealer, rather than a non-penetrating sealer.
Think About What You Want to Seal
Will you just be sealing the grout? Or do you want to look at a tile and grout sealer?
Decide If You Want to Colour Your Grout
As mentioned earlier, some grout sealer can also be used to colour your grout to significant effect. It can also be used to maintain certain grout colours. Consider if this is something you want.
A Simple Guide to Applying Grout Sealer
Now you have your grout sealer chosen, it is time to apply it. Of course, this is just a general guide – always make sure to follow the specific instructions on the product you choose.
Let the Grout Dry
If the tiles have just been installed, give your grout time to dry and cure. This takes about 48-72 hours. You want the grout to be clean, dry and not cracked or chipped, as you may seal dirt in otherwise. This can then be extremely frustrating as you have essentially ‘frozen’ the grout in time, warts and all.
If you are resealing your old grout, it is a clever idea to give your grout a thorough clean. Avoid using soap, however, as this can leave a residue and have that same ‘frozen in time’ effect that mars the appearance of your grout and tiles. Try greener, traditional methods, like vinegar or baking soda, to do a deep clean.
Prepare the Area
Just like when you are painting, you want to limit the area of where your sealer can end up. So, use some tape to cover any nearby areas, like the edges of cabinets.
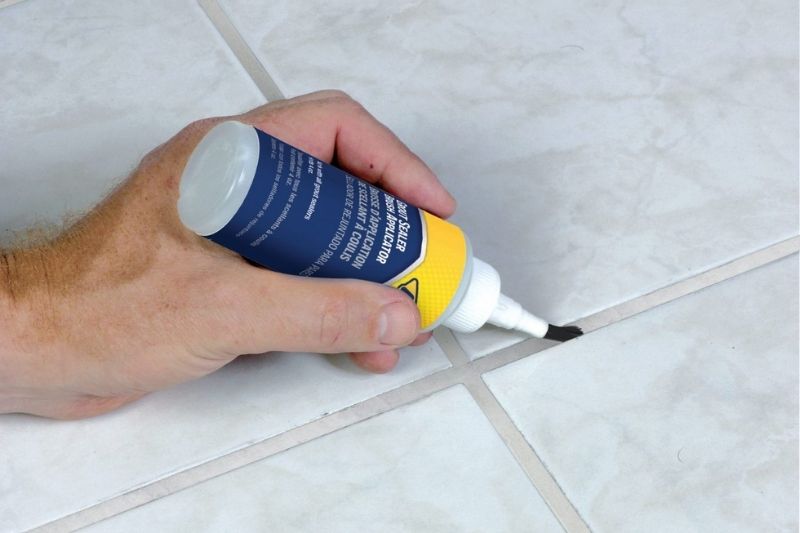
Apply the Sealer
Once you are prepped, you can start applying the sealer to the grout lines. There are three ways that you can do this: with a paint brush, with a roller or using a spray. Each has their own pros and cons. Ultimately, it depends on your working style and preference. Whichever application approach you choose, make sure to work systematically to be sure that you have covered all the grout, so there are no weak areas or unsealed spots.
Clean Up Any Spilt Sealer
No one’s perfect, so expect that some sealer will end up where you did not want it, like your tiles. You will need to clean this up to ensure a sparkling result. It is best to do this quickly to avoid leaving a foggy film. However, if this is a concern, you can always opt for a product that is both a tile and grout sealer. Always check the product details first though.
Wait 15 Minutes
You need to allow time for the sealer to soak into the grout or dry, depending on the sealer you bought. Typically, this will be about 15 minutes. However, it can vary between products, so double-check the directions.
Apply a Second Coat
To ensure a thorough coat and effective seal, apply a second coat of grout sealer. Follow the same steps, including cleaning up any spills or mistakes quickly.
Let the Sealer Cure
It will take a little while for the sealer to be fully effective – typically, 24-48 hours – so you will have to minimise your use of the space, including not showering in that area, to avoid water becoming trapped underneath the seal.
Test the Grout
To see if your sealer job is complete, you need to put your grout to the test. Flick a few droplets of water onto your grout. If the job has been done right, these should puddle on top of the grout rather than soaking in. Try this test in a few areas to be certain you have full coverage in your tiled space.
Reseal As Needed
Unfortunately, nothing lasts forever, so you will need to eventually reseal your grout. But this will help keep mould and mildew at bay and ensure you get all those great benefits we discussed earlier. Check the product packaging for recommendations for resealing. This will also include how regularly you need to reseal.
Get Your Grout Sealer Today
Now you are a grout sealer expert, it is time to grab some grout sealing products and tools to get done to work. You can find everything you need at your nearest hardware or search for an online store.