Table of Contents
Introduction
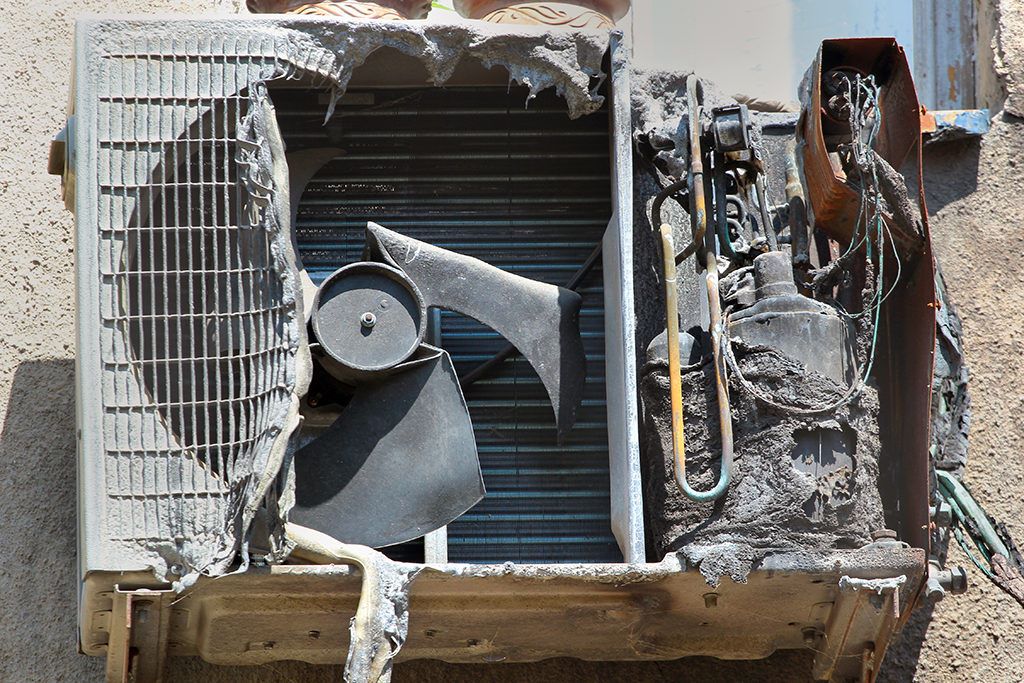
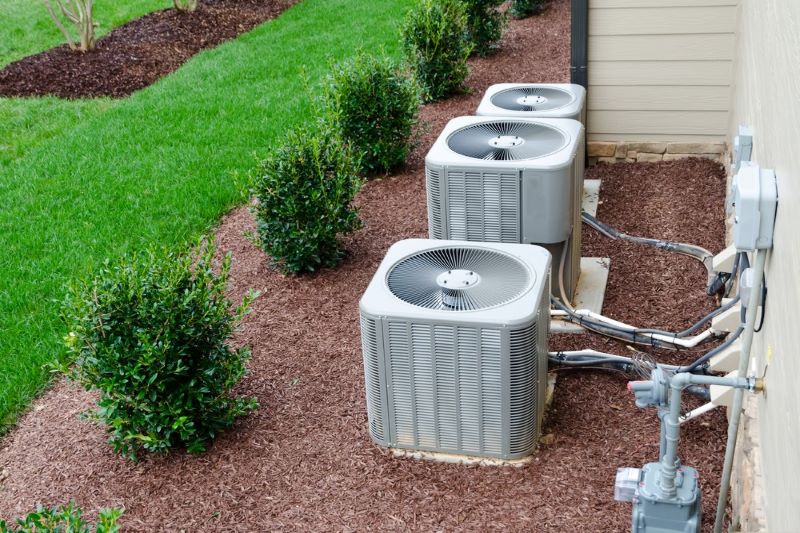
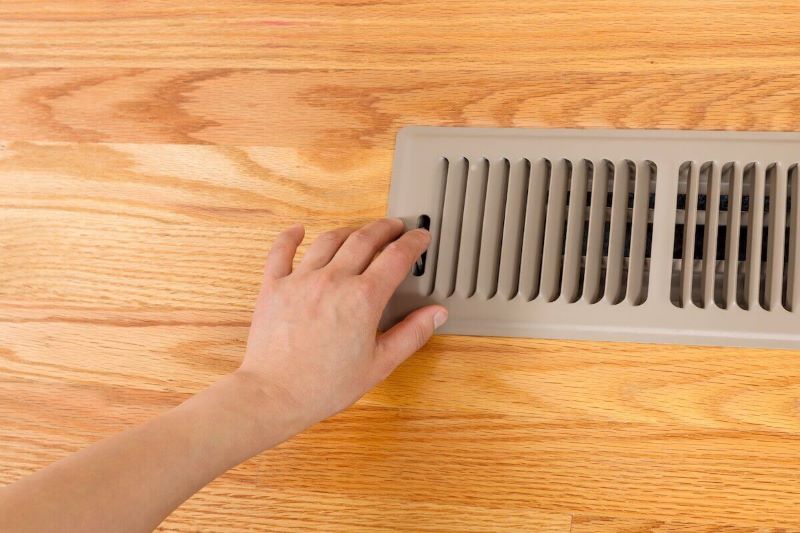
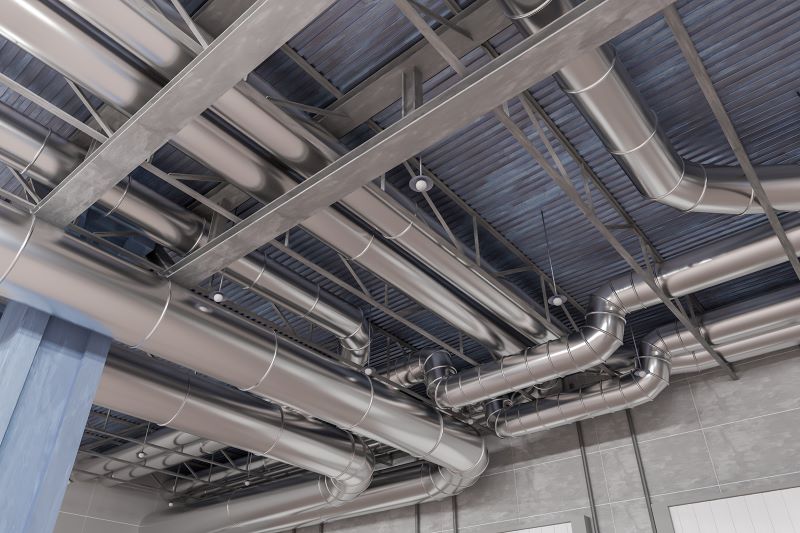
When it comes to heating, ventilation, and air conditioning (HVAC) systems, one critical aspect often overlooked is the proper sizing of ducts. Ducts act as the arteries of HVAC systems, carrying conditioned air to various spaces. The effectiveness of an HVAC system depends on how well the ducts are sized, ensuring efficient airflow and comfort. In this article, we delve into the world of duct size charts, focusing on CFM (cubic feet per minute) and how they relate to HVAC duct sizing.
Understanding CFM and Its Role
CFM, or cubic feet per minute, is a measurement used to quantify the amount of air a fan or HVAC system can move in a minute. It’s a crucial factor when determining the proper duct size. The CFM value is influenced by several factors, including room size, occupancy, desired temperature, and more. Having an accurate CFM value is essential as it forms the basis for selecting the appropriate duct size.
The Significance of Duct Size Charts
Duct size charts serve as invaluable references in the HVAC industry. They streamline the process of selecting the right duct size by correlating CFM values with corresponding duct dimensions. These charts provide a visual representation of how various factors interplay to determine the optimal duct size for a given CFM. They empower HVAC professionals and engineers to design systems that effectively distribute air without causing unnecessary pressure drops or energy inefficiencies.
Decoding the HVAC Duct Size Chart
An HVAC duct size chart is a comprehensive tool that factors in CFM, friction rates, and other variables to recommend the ideal duct size for a particular application. Let’s break down the steps to use the chart effectively:
Identify CFM Requirement:
Begin by determining the CFM required for the space. This involves assessing factors like room volume, heating/cooling load, and occupancy.
Locate CFM Value on the Chart:
Find the CFM value on the duct size chart. This will lead you to a range of duct sizes that can accommodate the specified airflow rate.
Consider Friction Rate:
Take into account the friction rate, which accounts for pressure drop due to air resistance within the duct. If your system requires a specific friction rate, adjust your selection accordingly on the chart.
Choose Duct Size:
Based on the CFM and friction rate considerations, select the appropriate duct size that meets the requirements. The chart will provide various options based on the dimensions of the duct (e.g., diameter for round ducts or width and height for rectangular ducts).
Verify Velocity:
Ensure that the chosen duct size maintains a reasonable air velocity, usually between 800 and 1,200 fpm. This velocity range balances energy efficiency and comfortable airflow.
Conclusion
Duct size charts bridge the gap between theory and practice in HVAC design. They offer a systematic approach to selecting duct sizes that optimize airflow, energy efficiency, and overall system performance. By understanding the relationship between CFM and duct dimensions, HVAC professionals can confidently design systems that meet both the functional and comfort needs of spaces. The next time you embark on an HVAC project, remember the power of the duct size chart in creating a successful and efficient system.
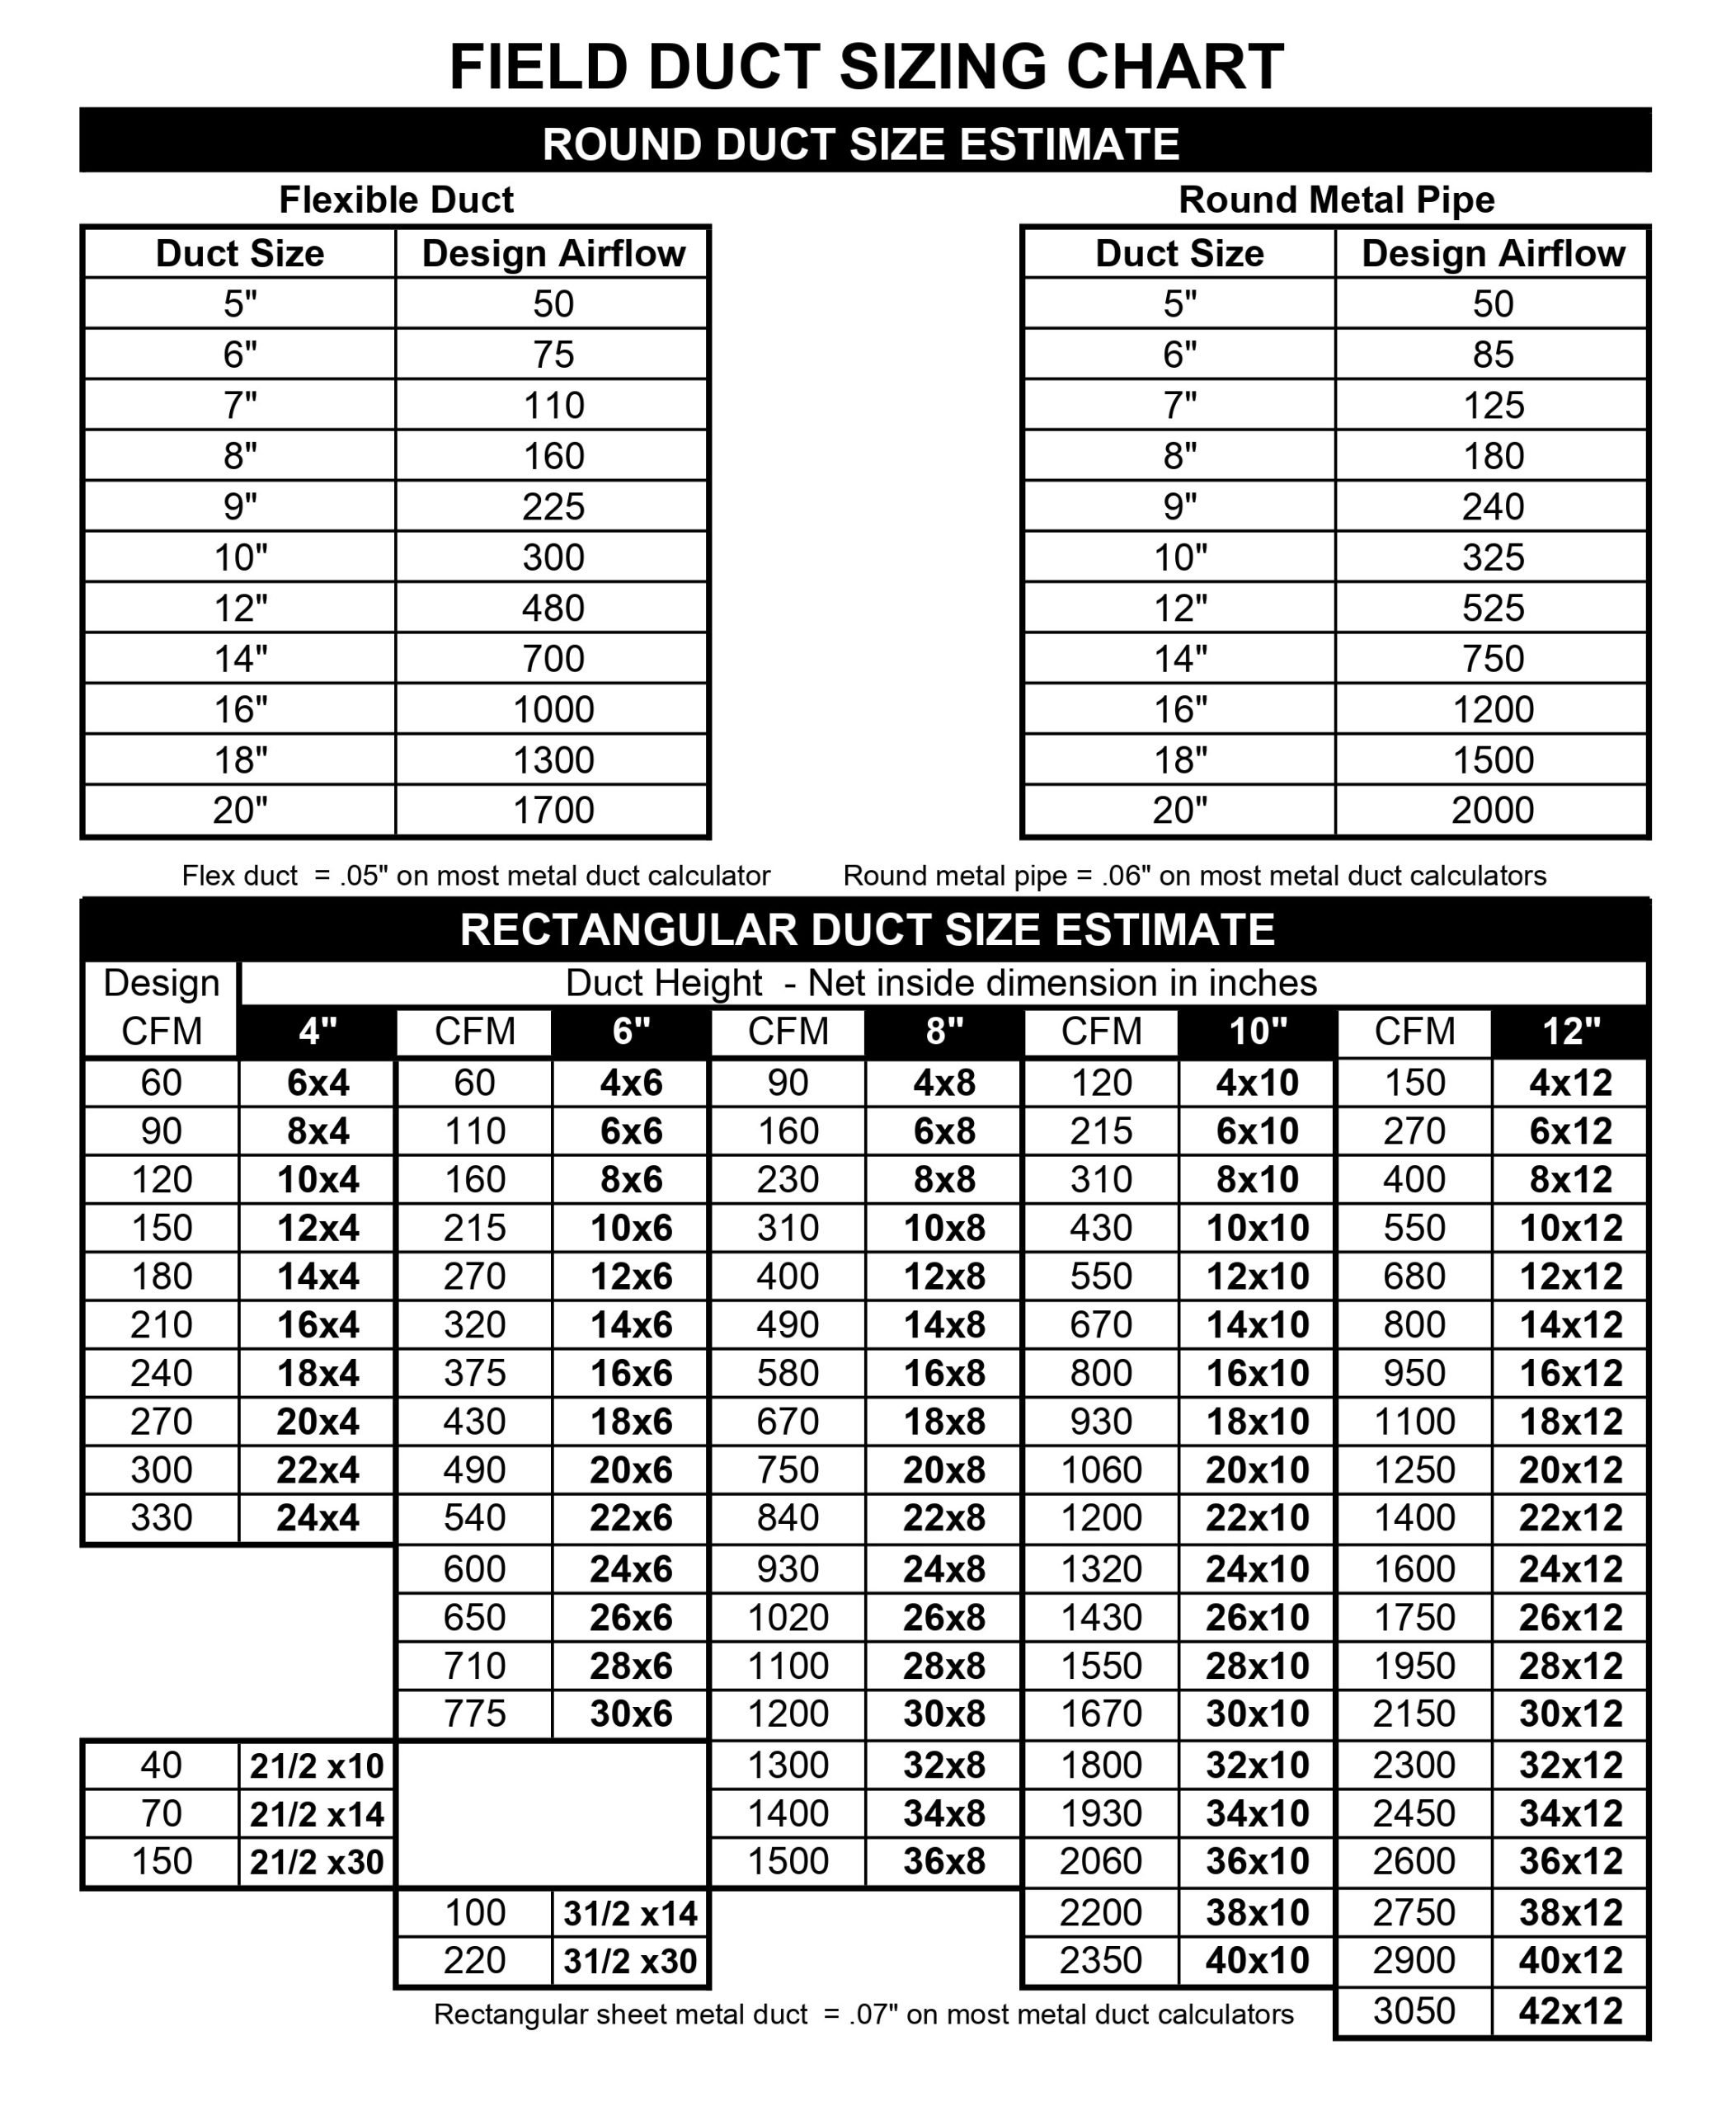
Field Duct Sizing Chart
How Do You Determine Duct Size?
Determining the appropriate duct size for an HVAC system involves a combination of engineering principles, calculations, and considerations. The goal is to design a duct system that efficiently delivers the required amount of conditioned air while minimizing pressure losses and energy consumption. Here’s a step-by-step process to determine duct size:
1. Calculate Airflow Requirements:
Determine the required airflow for each room or zone. This is often done using load calculations based on factors like room size, occupancy, equipment, and desired temperature. The result is typically expressed in cubic feet per minute (CFM).
2. Select Duct Shape:
Choose the duct shape that best fits the available space and design aesthetics. Common shapes include round, rectangular, and oval ducts.
3. Choose Duct Material:
Select an appropriate duct material based on factors like system pressure, noise considerations, and cost. Common materials include sheet metal, flexible ducting, and fiberglass duct board.
4. Calculate Friction Loss:
Determine the friction loss in the duct system due to air moving through it. This involves calculating the pressure drop caused by friction, which is influenced by duct shape, size, length, and airflow rate.
5. Choose Duct Sizing Method:
Select a sizing method to determine the duct size. Common methods include the Equal Friction Method, Static Regain Method, and T-Method. Each method has its own set of equations and assumptions.
6. Use Duct Sizing Charts:
Refer to duct sizing charts specific to the chosen sizing method. These charts provide a range of duct sizes based on airflow rate, friction rate, and other factors. Locate the required airflow rate and friction rate on the chart to find the appropriate duct size.
7. Calculate Velocity:
Check the air velocity in the duct. It’s recommended to maintain velocities between 800 and 1,200 feet per minute (fpm) for most residential and commercial systems. High velocities can create noise and increase pressure drop, while low velocities might result in inefficient air distribution.
8. Verify Duct Size:
Ensure that the selected duct size provides the desired airflow at an acceptable velocity. If necessary, adjust the duct size to meet both the airflow requirements and velocity constraints.
9. Consider System Effects:
Account for fittings, transitions, elbows, and other components in the duct system. These can impact pressure drop and airflow distribution. Manufacturers provide equivalent lengths for various fittings, which can be added to the overall duct length for more accurate sizing.
10. Consult Building Codes and Guidelines:
Check local building codes and industry guidelines to ensure compliance with regulations related to duct sizing, insulation, and system efficiency.
11. Professional Review:
Finally, it’s crucial to have the duct system design reviewed by experienced HVAC professionals. They can provide insights, validate calculations, and make adjustments based on their expertise.
Keep in mind that duct sizing is a complex process that requires a good understanding of HVAC principles and system dynamics. While duct sizing charts provide a foundation, working with professionals who are well-versed in HVAC design ensures that the resulting system meets efficiency, comfort, and safety standards.
What are Standard Duct Sizes?
Standard duct sizes can vary depending on the region, industry standards, and the specific HVAC system requirements. However, there are some commonly used standard duct sizes that are prevalent in residential and commercial HVAC systems. Keep in mind that these sizes can vary based on factors such as the type of HVAC system, the airflow rate, and the shape of the ducts. Here are some typical standard duct sizes:
Round Ducts:
- 4 inches (100 mm)
- 6 inches (150 mm)
- 8 inches (200 mm)
- 10 inches (250 mm)
- 12 inches (300 mm)
- 14 inches (350 mm)
- 16 inches (400 mm)
- 18 inches (450 mm)
- 20 inches (500 mm)
- 24 inches (600 mm)
Rectangular Ducts (Width x Height):
- 8 x 4 inches (200 x 100 mm)
- 8 x 6 inches (200 x 150 mm)
- 10 x 6 inches (250 x 150 mm)
- 10 x 8 inches (250 x 200 mm)
- 12 x 8 inches (300 x 200 mm)
- 12 x 10 inches (300 x 250 mm)
- 14 x 8 inches (350 x 200 mm)
- 14 x 10 inches (350 x 250 mm)
- 16 x 8 inches (400 x 200 mm)
- 16 x 10 inches (400 x 250 mm)
- 18 x 8 inches (450 x 200 mm)
- 18 x 10 inches (450 x 250 mm)
- 20 x 8 inches (500 x 200 mm)
- 20 x 10 inches (500 x 250 mm)
Oval Ducts:
Oval duct sizes are less standardized and may vary based on specific project requirements. However, they often have dimensions similar to corresponding round or rectangular ducts.
It’s important to note that these sizes are just examples of common standards. The actual duct sizes you’ll use in a project should be determined based on factors such as the required airflow rate, static pressure, friction loss, and the layout of the duct system. HVAC professionals typically perform calculations and refer to duct sizing charts to determine the most appropriate duct sizes for a given application.
How Do You Size and Design a Duct?
Sizing and designing a duct system for an HVAC (Heating, Ventilation, and Air Conditioning) installation involves several steps to ensure efficient airflow, comfort, and energy efficiency. Here’s a general outline of the process:
1. Gather Project Information:
Collect data about the project, including building plans, room layouts, occupancy details, heating/cooling loads, and any special requirements. This information will serve as the foundation for your duct design.
2. Calculate Required Airflow:
Determine the required airflow (CFM) for each room or zone. This involves performing load calculations considering factors such as room volume, occupancy, equipment, and desired temperature.
3. Select Duct Material and Shape:
Choose the duct material and shape based on system requirements and design constraints. Common materials include sheet metal, flexible ducting, and duct board. Decide whether round, rectangular, or oval ducts are most suitable for the space.
4. Calculate Friction Loss:
Calculate the friction loss that occurs as air flows through the ducts. Friction loss depends on duct size, length, shape, and airflow rate. This step helps you understand the pressure drop along the ducts.
5. Choose Sizing Method:
Select a duct sizing method based on industry standards and the system’s complexity. Common methods include the Equal Friction Method, Static Regain Method, and T-Method. Each method has its own equations and assumptions.
6. Use Duct Sizing Charts:
Refer to duct sizing charts that correspond to your chosen sizing method. These charts relate CFM values, friction rates, and other variables to recommend appropriate duct sizes.
7. Calculate Velocity:
Check the air velocity in the duct. It’s important to maintain velocities within the range of 800 to 1,200 fpm for most residential and commercial systems. High velocities can cause noise and pressure drop issues, while low velocities can lead to inefficient airflow.
8. Account for Fittings and Transitions:
Include fittings such as elbows, transitions, and diffusers in your calculations. Manufacturers provide equivalent lengths for these components, which you add to the overall duct length to ensure accurate sizing.
9. Design the Duct Layout:
Based on the calculated duct sizes and airflow requirements, design the layout of the duct system. Ensure proper distribution of ducts to evenly supply conditioned air to each room or zone.
10. Check Building Codes and Guidelines:
Ensure that your design adheres to local building codes and industry guidelines related to duct sizing, insulation, safety, and efficiency.
11. Review and Fine-Tune:
Review your duct design and calculations to ensure accuracy. If necessary, make adjustments to the duct sizes, layout, or other parameters based on your professional judgment.
12. Seek Professional Review:
Have your duct design reviewed by experienced HVAC professionals to verify its accuracy and effectiveness. Their insights can provide valuable improvements and ensure compliance with industry standards.
13. Document the Design:
Document the final duct design, including duct sizes, layout, and any necessary details. This documentation serves as a reference for installation and future maintenance.
Remember that duct sizing and design require a good understanding of HVAC principles and system dynamics. Collaboration with experienced HVAC professionals, use of industry-standard guidelines, and reliance on accurate calculations are essential for a successful duct system design.