Table of Contents
The radon removal system involves several steps. Since the process is expensive, many homeowners use DIY methods to remove radon. However, it can get tricky. If you aren’t confident enough, it is better to approach a professional to install the radon mitigation system in your house, instead of doing it on your own. However, if you feel this is something you can accomplish yourself, then we have provided steps for radon removal below.
NOTE: If you know your home has high radon level, you shouldn’t delay in installing a radon removal system.
Okay, here is the basic.
Radon gas comes from the underground. So, the best way to get rid of it is to bore a hole in the foundation of your property, suck the air up through a pipe and expel it via the roof of the house. So, you have to install a pipe that runs underground and then lifts it up through the inside of the house, and out of the roof.
What You Need for the DIY Radon Removal Installation
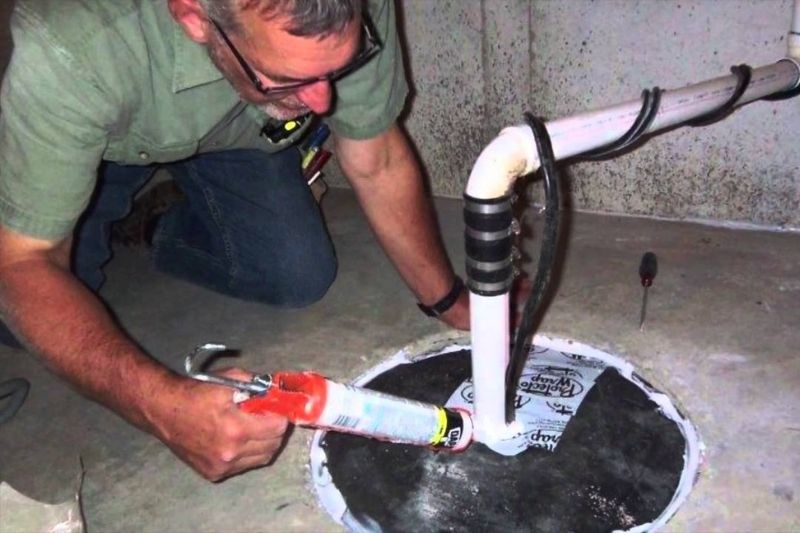
You need PVC pipes, holes drilled in your house’s foundation and on the roof, good quality sealant, and a fan, powerful enough to create suction, draw air from the soil beneath your house, and push it out through the pipe above. The fan is generally installed at the top of the system or in the attic.
If your radon removal system goes through an attic, then you have to insulate the place to make sure the warm underground air doesn’t create moisture condensation after hitting the cold air at the roof’s entrance. Moisture retention can start another crucial problem – mold growth.
Steps to Plan DIY Radon Removal
Step 1: Inspect your house
Find out which area of the house has high radon content using a radon detector. Use a good quality, long-term radon level tester.
Step 2: Determine the age
The fill beneath the foundation cement is much porous in modern houses (constructed after 1970), which denotes less effort in air suction. Finding out the age of your house is very important in determining the perfect approach to suck out the air.
Step 3: Scale your property
Since you may need to remove radon from multiple areas of your property, you have to measure the structure of your home considering a number of key factors, such as:
- How many air pockets are there beneath the foundation
- What kind of drainage system you have installed
- What is the soil composition beneath the cemented foundation
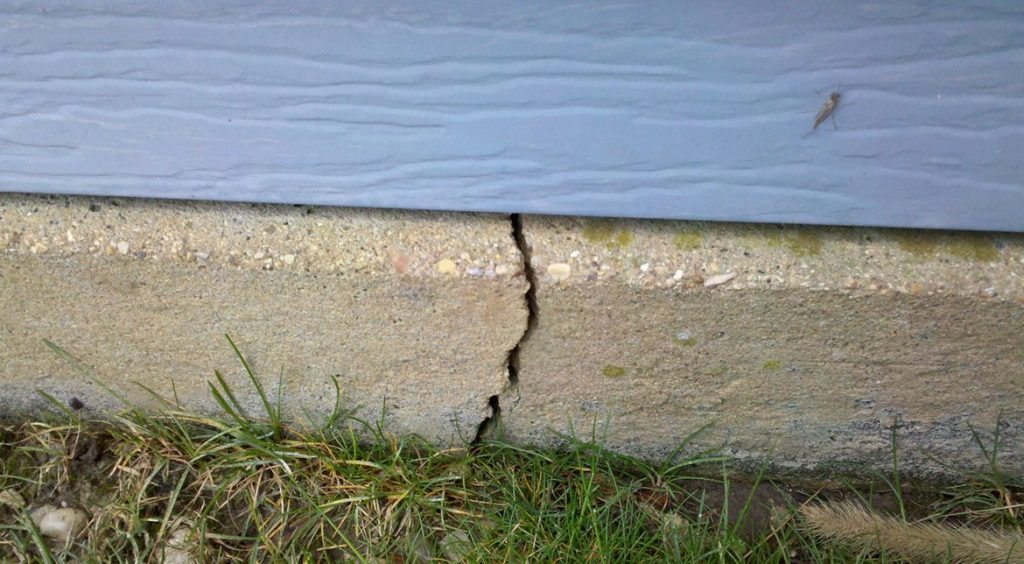
- Are there any cracks in the slab? If yes, seal them up to promote good suction
Step 4: Plan the radon removal system
Fix the pipe (3 – 4 inches in diameter) in a less frequented area, at least 10 feet away from windows or doors. Garage through garage roof or through a closet is the ideal way to plan the pipes.
It is safer to place the fan outside the living zone, most preferably in the garage or attic because it can often produce leaks. The fan’s capacity will determine the size of the PVC pipe.
An ideal place to drill a hole in the foundation for the PVC pipe is near a wall so that it helps you to bracket the pipe. The hole should be an inch bigger than the PVC diameter.
Step 5: Seal the holes
Seal the holes with a good quality sealant, such as hydraulic cement and backer rod. The best way to check if the system is working is by turning on the fan and using a burning piece of paper placed near a small temporary hole in the foundation and check if the smoke from the burning paper is being sucked out or not.
If you live in multiple storied houses, installing the pipes need to be accurate and strong, so that the radon gas does not leaks out through the joints or moisture doesn’t gets in through the roof.