Table of Contents
Tips in Cleaning Brickwork
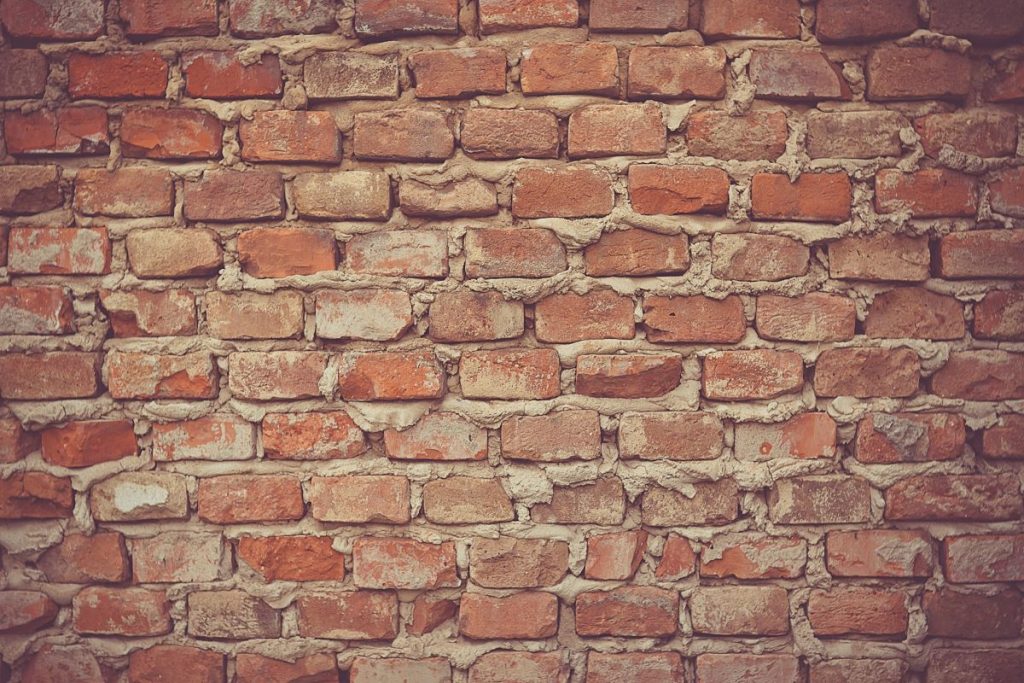
One of the many exciting things about building a home is the process of picking out the materials and design accents to be used. Various surveys and statistics have shown that brick is still undeniably one of the most popular material choices of homeowners when it comes to building and decorating their homes.
For one, it’s very aesthetically pleasing and gives that timeless touch to any space, be it on an accent wall or an exterior wall. Brickwork is also a very versatile design element since it can make a space look classic and trendy at the same time. Another good thing about using bricks is that it requires very little maintenance as compared to other building materials such as wood or vinyl siding. However, despite its minimal maintenance, it still needs to be cleaned every now and then to preserve its natural beauty.
Cleaning brickwork is very easy. Typically, a simple splash of water using a garden hose would suffice, but, if your exterior walls require a much more thorough cleaning, you may lightly scrub it with a synthetic sponge or brush with a bleach and water solution to remove deep seated dirt. Apart from stubborn dirt, a bleach solution can also get rid of moss, mold, and mildew growth. Some areas of your exterior wall that are not exposed to direct sunlight are prone to such growths, so cleaning your wall with bleach can take care of it.
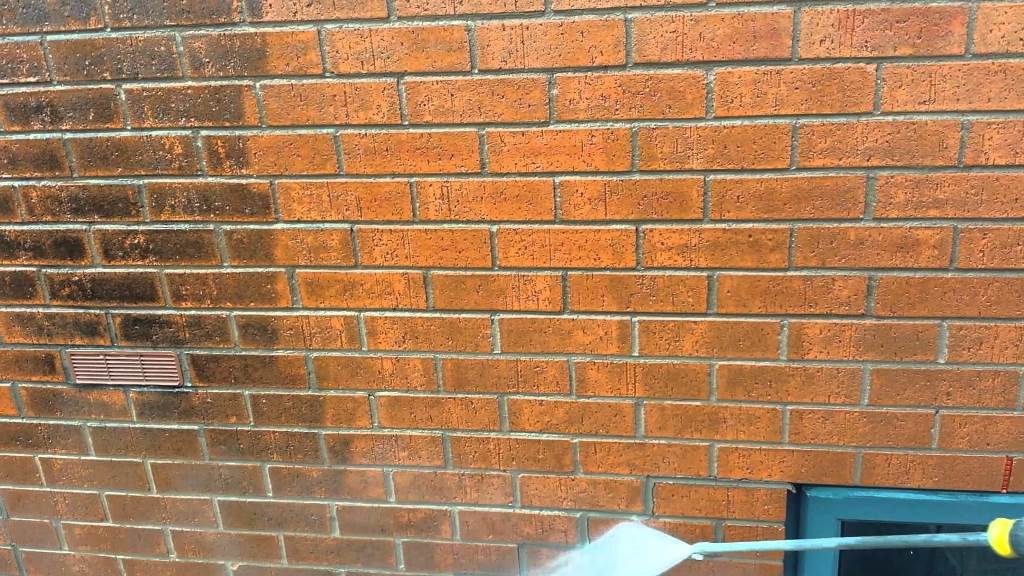
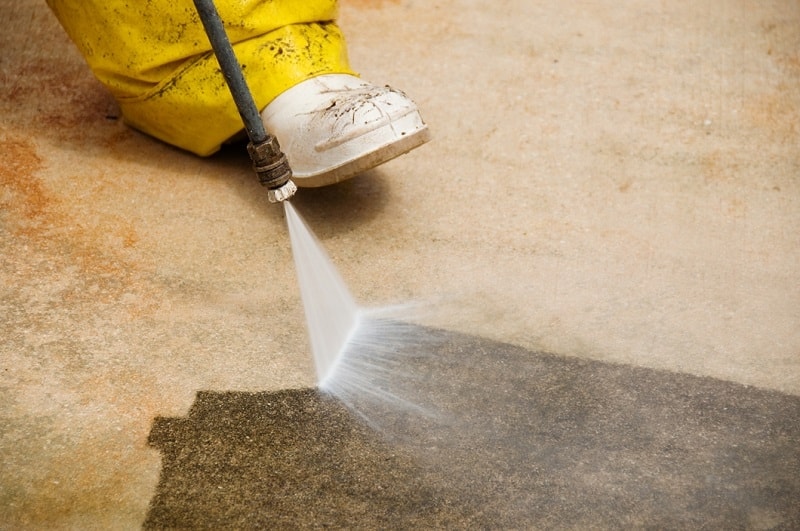
However, there are cases wherein a simple bleach and water solution won’t suffice. In situations like this, cleaning your wall with a pressure washer would do the trick. The high pressure can help dislodge hard to remove dirt and stains from your brick wall. However, using a pressure washer does have negative effects on your brickwork, so it’s very important to use it only if it’s really necessary. The mortar, which holds the bricks together is prone to water and pressure damage, so make sure you don’t use a pressure washer too close to the wall to reduce the pressure.
For interior brick accent walls and brick fireplaces, manual cleaning is the way to go. Although indoor brickworks are not directly exposed to the elements compared to your exterior brickworks, it still needs some TLC to preserve its beauty. You may also use a water and bleach solution to clean your indoor brickworks, but using a pressure washer wouldn’t be the best idea.
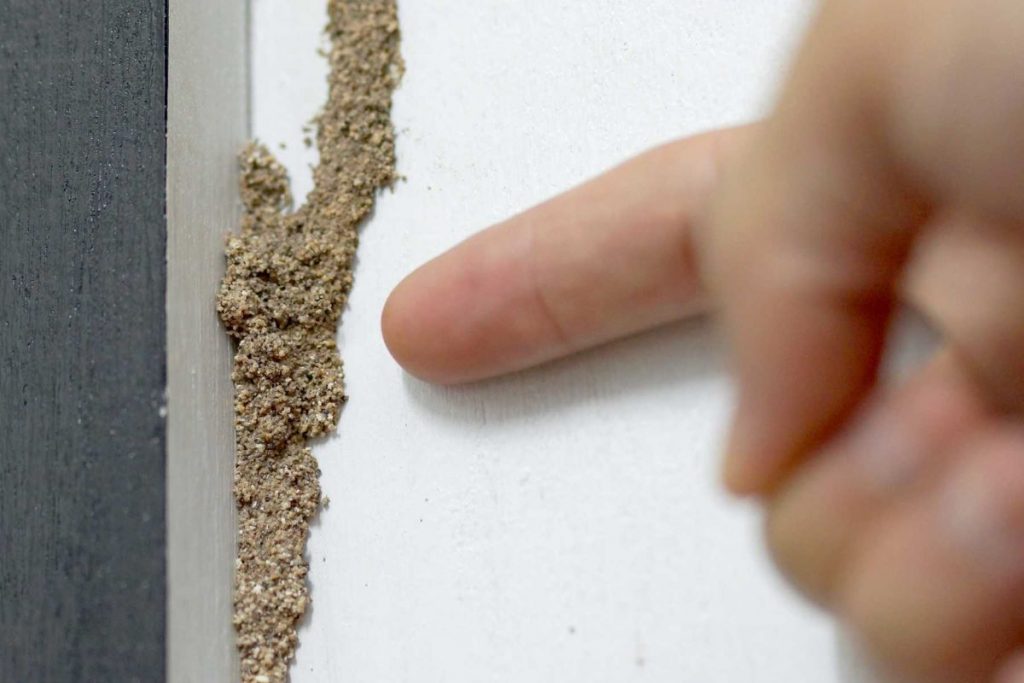
Cleaning your brickwork is essential to maintain its beauty and durability. Neglecting your brickwork can cost you a lot of money down the line, so it’s important to give it a good cleaning on a regular basis. Apart from cleaning, you must also check your brickwork regularly for chips and gaps where the brick’s mortar joint should be. If you see any gaps or when you see the mortar cracking or falling out of the joints, then it’s time to have it repointed. You can repair mortar joints on your own, however, it’s a painstaking task that takes a lot of time, so it’s better to leave it to the experts.
Tips in Repairing Brickwork
As durable as they may seem, bricks are still prone to wear and tear and may require replacement depending on the severity of the damage. Usually, it’s the mortar joints that are often repaired, but there are times wherein replacing the actual bricks is the only solution.
Rain and ice can cause havoc to your brickwork once it seeps in the mortar joints. Once this happens, single bricks can break down and eventually fall off, compromising the integrity of the structure.
Replacing damaged bricks are best left to the experts, but if you think that you can undertake this task on your own, then here are the steps on how to do so.
NOTE: This repair can be done if it only involves 1-4 adjoining bricks and if the wall that you will fix is not load bearing. For load bearing walls, it’s best to consult a professional mason or a brick expert.
Step 1. Select the right replacement brick.
When choosing a replacement brick, make sure that it closely resembles the existing bricks. Finding an exact match is very difficult, especially if the brick is very old. For old bricks, you may try architectural reclamation companies where old reclaimed building materials are sold.
Step 2. Remove the damaged bricks.
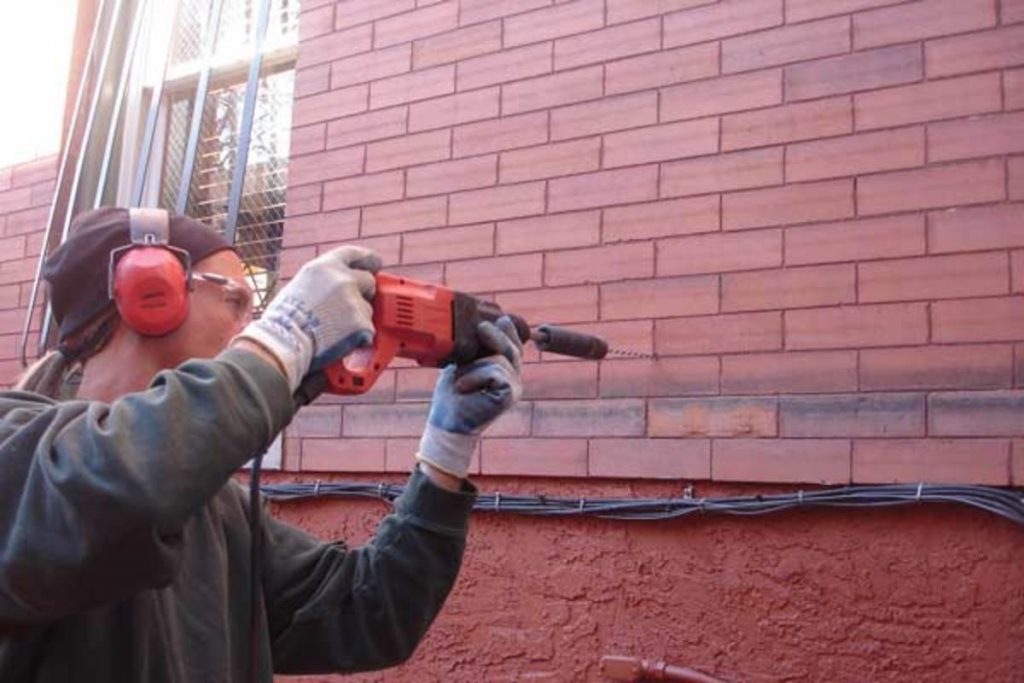
Break apart the damaged brick piece by piece using a cold chisel and heavy hammer. You may also use a power drill to score the bricks before chiseling them down to make your work a little bit easier. Make sure not to damage the surrounding bricks when removing the damaged ones. Once the brick pieces are removed and the mortar joints are clean, remove the fine particles by using a vacuum or a synthetic brush.
NOTE: Before attempting to remove the damaged bricks, make sure to wear proper eye and hand protection.
Step 3. Mix the mortar.
Mix the mortar using a prepared mixture in a large container. Gradually add water to the mixture until it is thin enough to spread, but firm enough to stand on a trowel. Make sure to use a mortar that matches your existing one so as not to alter your brickwork’s appearance. Once you’re done preparing the mortar, apply a 1-inch layer of mortar on all the sides of the existing opening using a pointing trowel.
Step 4. Prep and place the brick.
Before sliding the brick into the opening, slightly wet the brick so that it can absorb the mortar much better. Once done, apply mortar to the top and both sides of the brick. Slide it into the opening and let the mortar ooze out slightly as you push it into the wall. Tap it into place until it is leveled with the existing bricks. Scrape off the excess mortar and use a joint strike tool to match the adjacent mortar joints.
Step 5. Cure the mortar.
It’s important to keep the repair damp to allow the mortar to cure properly. Lightly spray it with water for three days, and then let it dry.