Table of Contents
Water damage restoration cannot be accomplished using DIYs if the damage is serious and unmeasurable. Let’s take moisture for example. Moisture balances everything, right from your food to your skin and your health. However, while moisture is good for skin and health, it may not be for your property. Tad bit extra moisture inside your house can lead to several problems, including mold growth and structural damage. And, you cannot know about it unless you are trained and use the right equipment.
In this article, we will share tips to detect moisture inside the walls of your home.
How Moisture Penetrates the Walls
The percentage of moisture in the air shifts throughout the day due to bathwater, boiling water, plants, shrubs and even breathing. Buildings are constructed in such a way that they prevent moisture penetration inside the walls. Sheathing, moisture barriers, siding, and plasters effectively seal humidity from entering.
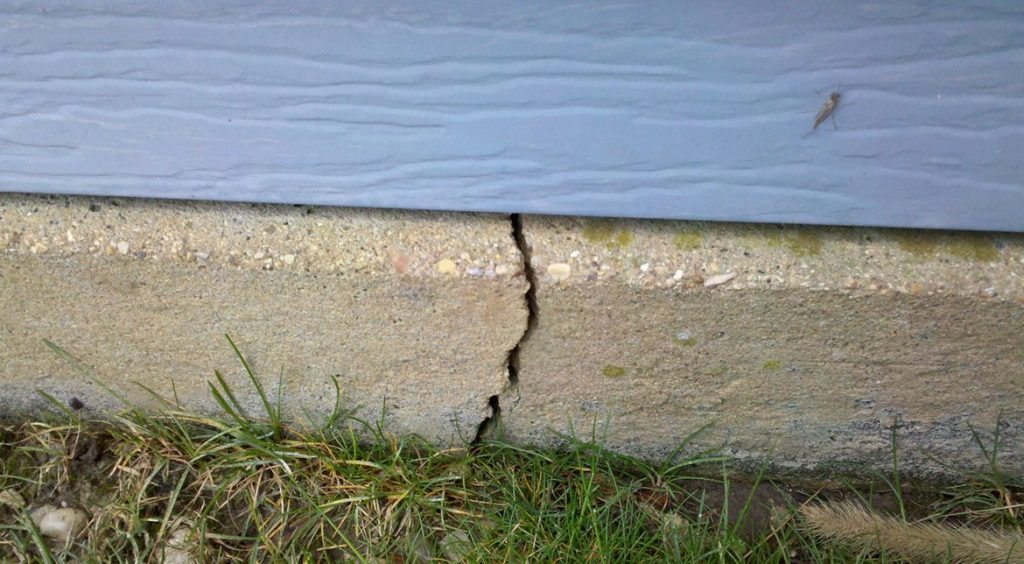
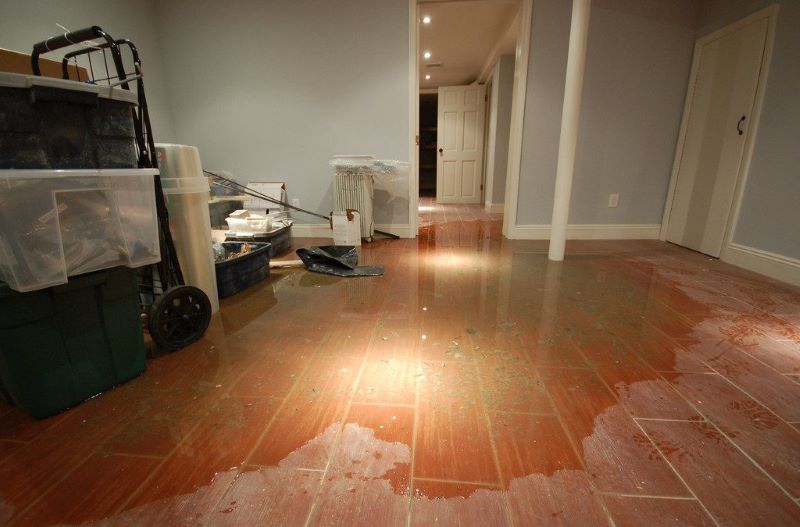
However, when there’s a leak or a flood, the water soaks the wall and causes the insides to rot. Mildew growth, wood decay, and damaged drywall and insulation are some of the side effects of ignored water damage. Early detection of excessive moisture can stop most of these problems. But knowing the signs of moisture retention is very important. While you may dry out the carpets and the floors after a flood, moisture can still be lurking behind the walls waiting to attack.
Steps to Find Water Damage in Your Home
Here’s what you should do to find the presence of extra moisture inside your house or office. Make sure you call a water damage remediation expert if the damage is caused by hurricane, heavy rainfall, severe pipe leak, flood, and storm.
Step 1: Observe your Walls
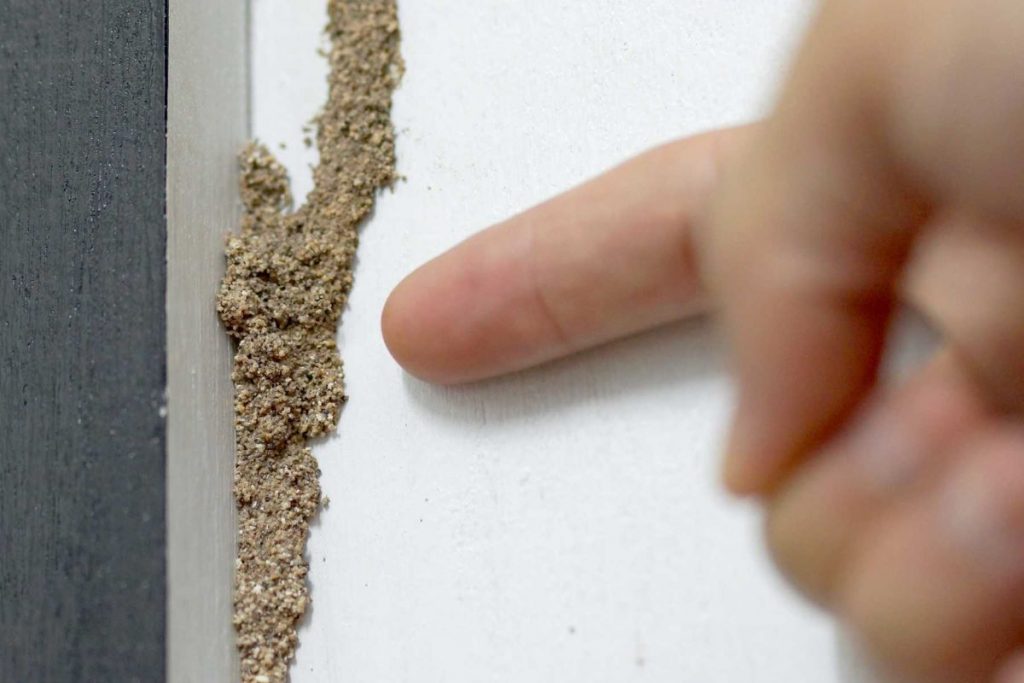
If your neat walls are changing color and texture all of a sudden, it is a danger sign. Some of the common protests that walls show when they are loaded with moisture are warping or bulging of surface, peeling paint, black and brown spots, discoloration, and yellowing.
Step 2: Feel the Wall
If your wall is damaged by moisture, it will feel different. Push it or press it on different places and hear the sounds it makes. It will sound hollow where there is moisture retention. Damaged drywalls will be spongy, soft, and filled with air. Wood-sheathed walls can be tough to detect, but a few scraping of the surface can reveal the condition of the wood beneath.
Step 3: Smell Your Walls
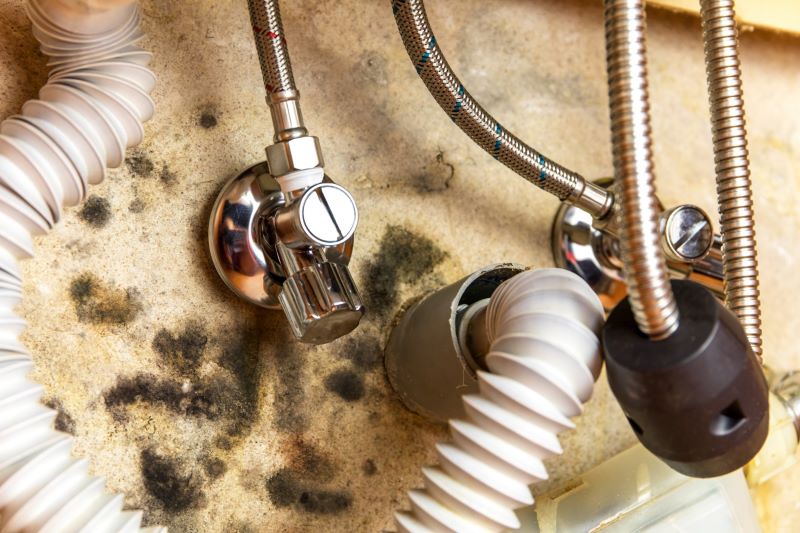
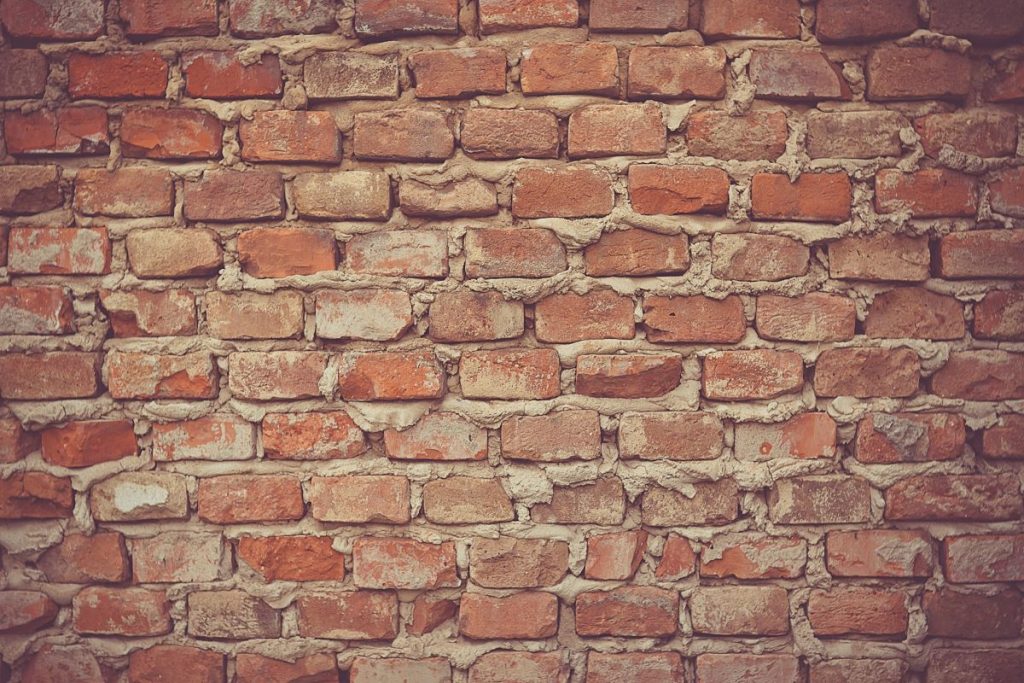
Humidity and dark surface is the ideal environment for mold and mildew growth. Molds are microbes or fungus. If the walls smell musty and pungent, it means something is growing inside the wall. Mold rots wood faster than they damage bricks. So, be careful.
Step 4: Use Moisture Detector Tool
Here’s what you can do:
- Drill two small holes from the inside into the wall.
- Buy a good quality probe moisture meter and insert it into the holes.
- Read the manual and take readings based on the instruction provided. Make sure to take several readings throughout the day.
- Compare the readings with standard levels. You won’t receive zero moisture because the humidity is present everywhere.
- The normal range is 7 to 13. It can go slightly high depending upon the area and climate. However, if it goes beyond the average normal range, call your remediation expert.
- Don’t forget to fill the drilled holes with wood putty (interior) or silicone caulk (exterior) depending upon the place you have drilled.
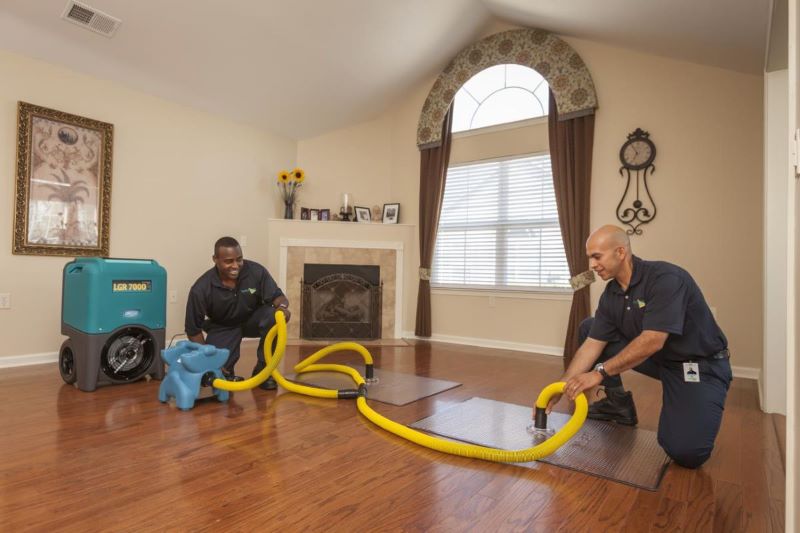
Professional water damage restoration companies use industry-standard meters and detectors to test moisture penetration after water damage. If you identify high moisture levels with the probe meter, hire expert service to remove excess humidity and restore the walls.
source/credit: seasiderestorationchs.com