Table of Contents
We love decorating concrete. While many people still think that concrete is this dull grey material that never changes its form, we know for a fact how versatile and fun the flooring material can be. And one of the most popular techniques for decorating concrete is concrete stamping. We wanted to write a general guide to everything stamped concrete for beginners who are looking to get their concrete decorated by skilled contractors.
We talk about: what stamped concrete is, how it is done, and what kind of results you can achieve with it. Interested? Keep on reading.
What is stamped concrete?
We first need to settle the question of what exactly concrete stamping is. Luckily, this is a relatively straightforward question to ask as concrete stamping is exactly what it sounds like it is.
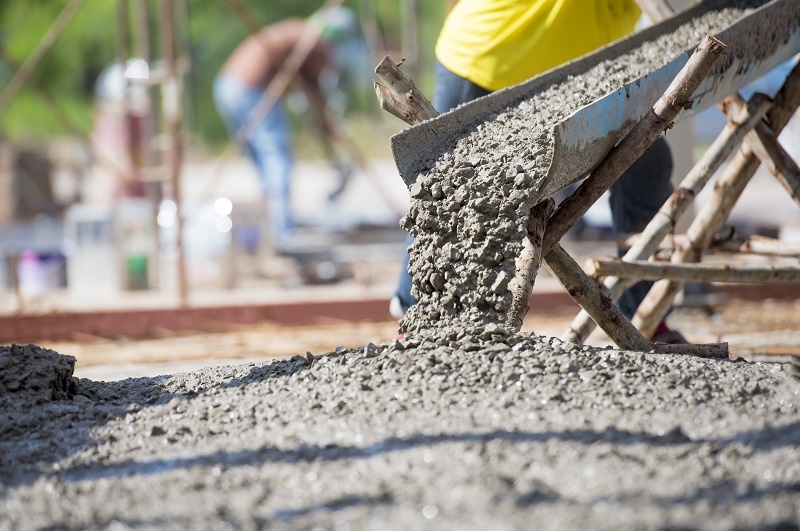
Stamping concrete is a decorative concrete technique wherein wet concrete is stamped to imprint a design or pattern. When it dries, the concrete no longer resembles its flat and smooth brothers but is instead a completely new kind of flooring. Stamped concrete is different from stamped concrete overlay in that stamped concrete can only be done on wet concrete while stamped concrete overlay is done on wet resurfacer that is applied on top of old concrete floors.
Stamped concrete is a popular method of decorating concrete that can be traced as far back as the 150s B.C. when Ancient Romans used it to decorate buildings, columns, bridges, and other structures. But concrete stamping as that uses mats as we know it today began in the 1950s when an innovative contractor Brad Bowman first used metal stamping sheets to design concrete.
What results can you achieve with stamped concrete?
Concrete stamping is a decorative technique that can produce varied and versatile results. It is generally used in two ways. The first way is to apply a design or pattern that is repeated throughout the surface of the floor. Concrete stamping mats with geometrical patterns or custom designs can elevate the overall look of a room without creating an overwhelming distraction from the rest of the room. It is also a good way to add texture and slip-resistance to outdoor floors.
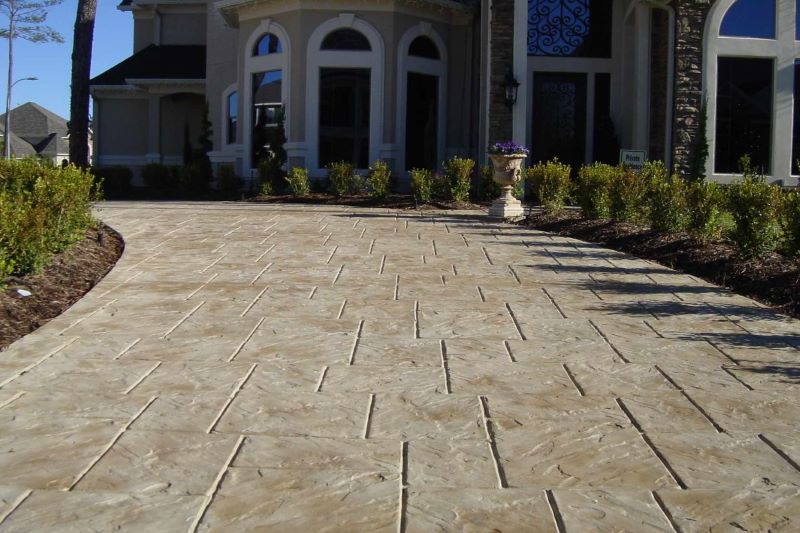
The second way people use stamped concrete is to replicate other flooring materials. This can be done with popular flooring materials like wood, stone, or brick which can be expensive to install. With concrete stamping, you not only get the same exact look for less but you also get the appearance of other flooring materials with the durability, longevity, and versatility of concrete floors.
Whichever way you choose to use stamped concrete, the installation process is generally still the same.
How is concrete stamped?
Whether you choose to have your concrete stamped professionally or if you are thinking about doing it yourself, there are steps you will need to follow to achieve flawless stamped concrete floors.
1. Choose a design or pattern for your concrete floors
Before you can start applying your mats to your newly installed floors, you first need to settle on what kind of stamp you are looking to apply. If you choose to lay down a pattern or design, you will need to make sure your contractor has the capabilities to make a stamping mat that suits your vision. And if you choose to replicate other flooring materials, you will have to decide on the exact look of the floors as well as color.
2. Use a hardener on the newly mixed concrete floors
You cannot stamp concrete that is still completely wet or the pattern or design will not hold. That’s why a hardener has to be applied first to speed up the hardening process to get the right plasticity on the concrete. A hardener may need to be applied in two layers.
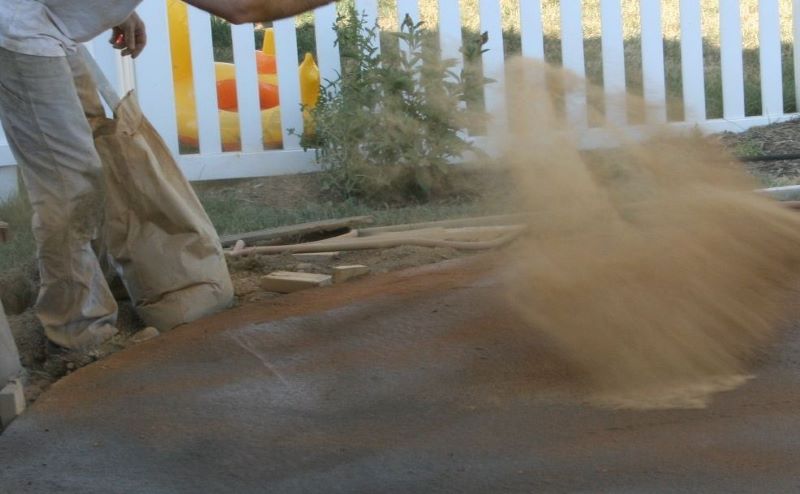
3. Apply any kind of release agent to the concrete
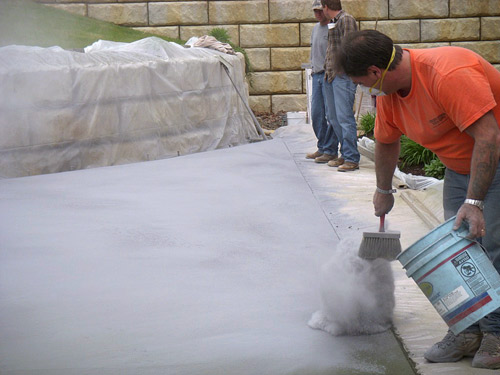
To make sure stamping mats and other tools do not stick to the surface of the concrete, a release agent will need to be applied first. Release agents can come in both powdered or liquid forms. A powdered release agent will need to be carefully applied with a brush to get an even and consistent coat across the surface. On the other hand, a liquid release agent can be sprayed on with a pump-style sprayer. Liquid release agents are thus easier to apply.
4. Test the concrete’s plasticity
The plasticity of the concrete has to be absolutely right before you can begin stamping it. You can do this by pressing your fingers into the slab and testing to see if you leave a clean imprint. This is generally an indicator that stamping can begin. If you leave a messy mark behind, the concrete is not ready and you will need to wait a little longer.
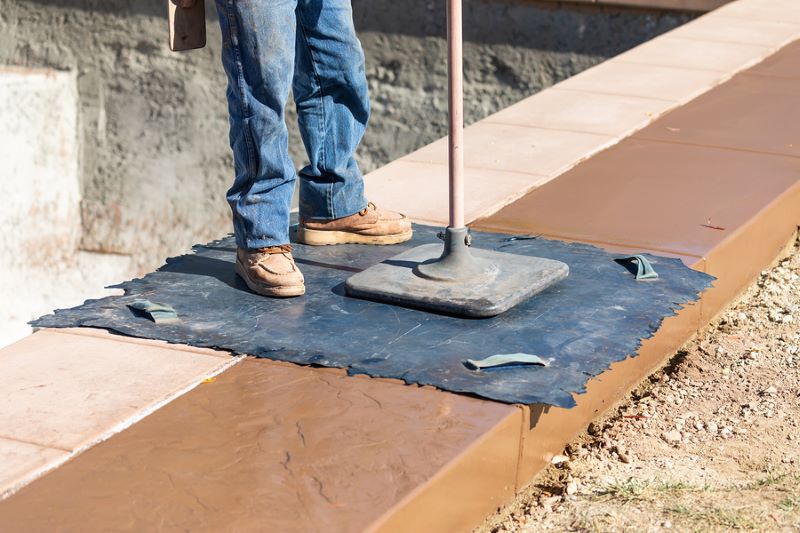
5. Start stamping!

To guide the rest of the stamping, the first row of stamping needs to be perfect. Take the time to practice how the stamping mats fit together before applying it to the concrete. When you’re ready to start, place the mat on the concrete and apply some pressure to make sure the design is imprinted. When you’ve done the first row, use it as a benchmark for the next rows. Continue until the entire surface of the floor has been stamped.
6. Correct imperfections with a hand roller
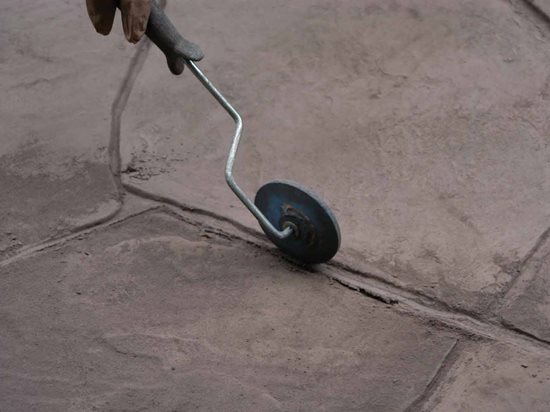
Stamping concrete can be messy and some minor mistakes can be expected. To make sure the pattern is correct, assign someone to watch out for mistakes, texture, or any misplaced concrete. This person can then use a hand roller to correct lines and add detail. Make sure you detail at the same time you are stamping or the concrete may dry before you are able to fix imperfections.
7. Apply the curing compound
Before you can apply any kind of curing solution to the surface of the floors, they will first need to be cleaned sufficiently. Once they are clear of dust and dry, a curing compound can be sprayed on.
8. Seal your new stamped concrete floors!
When the concrete floors have finished curing, you can proceed with applying a coat of sealer. A sealer is important in making sure your concrete floors and the design you stamped last for a long time.
This process applies to any kind of stamping you want to accomplish, with a few more steps that can be thrown in for custom floors or stained concrete floors.
source/credit: miamiconcreteartisans.com
Post updated: 08/19/2021