Table of Contents
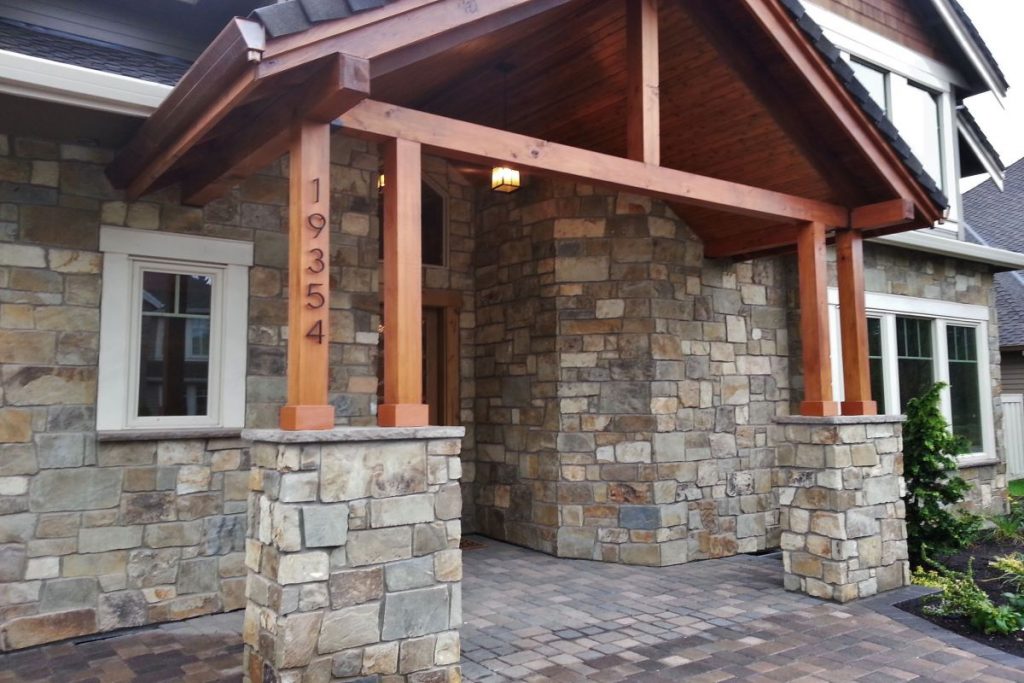
When building columns, it is beneficial to know the easiest, most cost-effective, and most flexible way of making a finished product. This way, you can account for constraints on your time, ability, and budget, and expand your project as needs and desires evolve. Stone veneer is an imitation of natural stones that are formed from concrete, and then worked to take on various materials and looks. Concrete is porous, so it is much lighter than stone, and also in more plentiful supply. It is created in a variety of forms, so it can be easier and fun experience to find a type that complements your design and vision.
Here is a description of the steps involved in completing this project. Become familiar with them, reading all the way through several times if necessary.
Measuring the fundamental step
- This is the simplest to understand but the most critical to a quality product. You will go through the basic steps of measuring and outlining the location of your column, determining the width and positioning as necessary. The important thing to remember is that the column width must have twice the width of the stone, and then another eight inches.
- After drawing the positioning of the column with a chalk or pencil, you will use a framing square to mark the center 8 inches as support lines. Support Building For this step, you will need 8 inch cement bricks to place in the center support lines marked in the previous step.
- You will be alternating mortar and brick, building up your support column to the necessary height. You will lay two bricks side by side on each layer. Make sure to use a level on the bricks. Each time you lay a new layer, smooth the mortar with the trowel and adjust the bricks until they are totally level in every direction.
- When a layer is done, there are three final steps to laying two new bricks; applying mortar between the leveled bricks, applying mortar to their top, and using a sponge to wipe off mortar that spills into unwanted areas. Then, when laying a new layer, lay them in a direction ninety degrees from the direction of the bricks below.
- Wall ties are to be placed in the mortar of every third layer. Bend the free ends away from areas you will be working. Later, this will facilitate adhesion of the veneer stones to the cement.
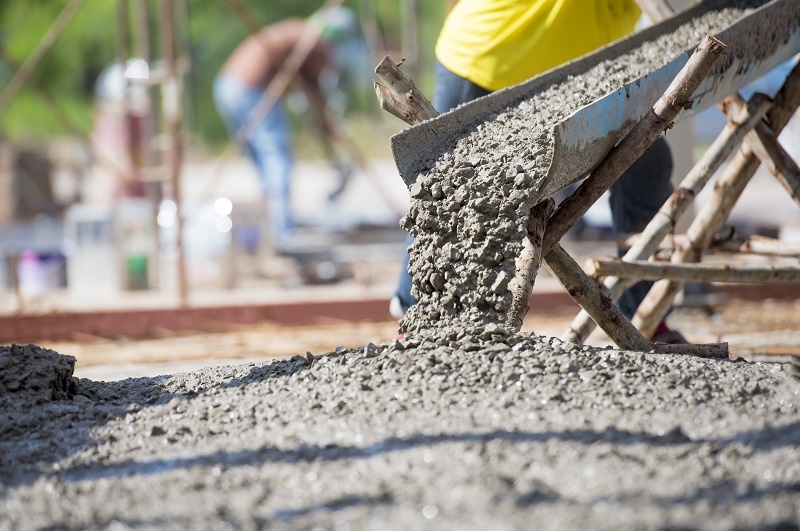
Mortar Mixture
- This is the mixture for the stone veneer. Mix the dry ingredients well at two parts mason’s sand to one part mortar. Add the water, mixing until clumps disappear but mixture is still thick. Stone Placement Now you will be placing your veneer stones around the support column, making sure all stones are aligned and level.
- During placement and measurement, use a sledgehammer and chisel to cut the stones to a proper fit. You will be filling 1/4 to 1/2 inch space between each stone with mortar, so measure and place your stones accordingly.
- When shaping the column with a stone, used both your marked areas and a framing square create right angles and straight lines. The inside of the stones should be flush with the support column.
- The first step to placement will be laying an inch of mortar per layer, so use the same leveling process as used for the support column. Use shims to hold the stones and wait for each layer to harden before adding a new one.
- After each layer is placed, the wall ties are to be bent into the mortar. Cap Placement A length of 1 to 2 inches plus the length of the column’s side is a good guide for the dimensions of your cap. Spread the final 1/2 inch of mortar, and place the cap on top. Take the time to carefully measure its positioning, so that is perfectly centered on the column, and all sides are level. After you are familiar with the steps in this project, get ready by gathering your materials.
Here is what was used in the steps described:
- Face mask
- Tape measure
- Level
- Chalk or carpenter’s pencil
- 8-inches cement brick
- 1-inch paintbrush
- Sponge
- Trowel
- Mason’s sand
- Mortar
- Framing square
- Shims
- Wall ties
These are the steps, briefly reviewed: measurement, positioning, and marking support column layering, wall tie installation mixing of stone veneer mortar stone cutting and layering cap placement Now, you can find away to comfortably break down this project, learning a few new skills where needed, so you can see for yourself how simple it is to create your own home decor.