Table of Contents
You hear the tornado warning alarm only moments before the twister strikes. Where do you hide your family to give yourselves the best chance for survival? For many families, the safest place in their home is a bathroom or closet, but even those “safe” spaces may not be enough.
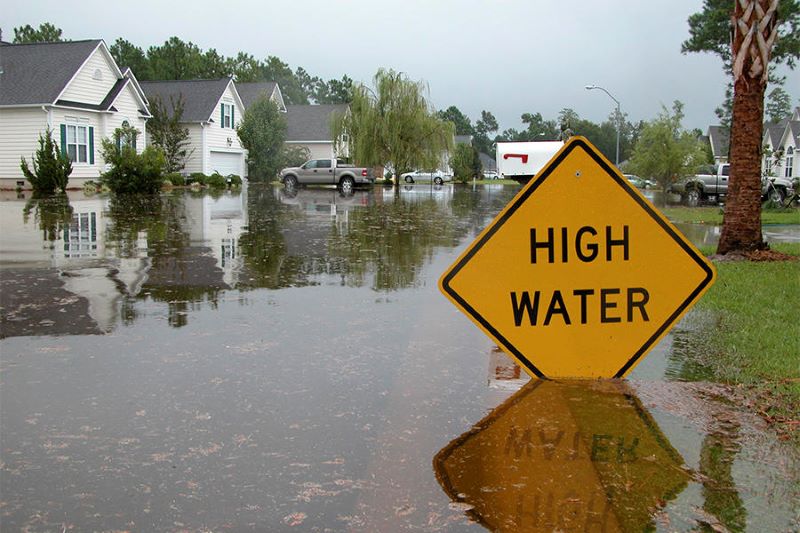
Natural disasters are becoming more and more frequent as global warming rages on. Natural disasters cost about $160 billion in 2018 alone, ranking it as the fourth most expensive year for natural disasters in history!
Many homeowners and businesses are building a safe room into their building in case mother nature decides to throw a curveball.
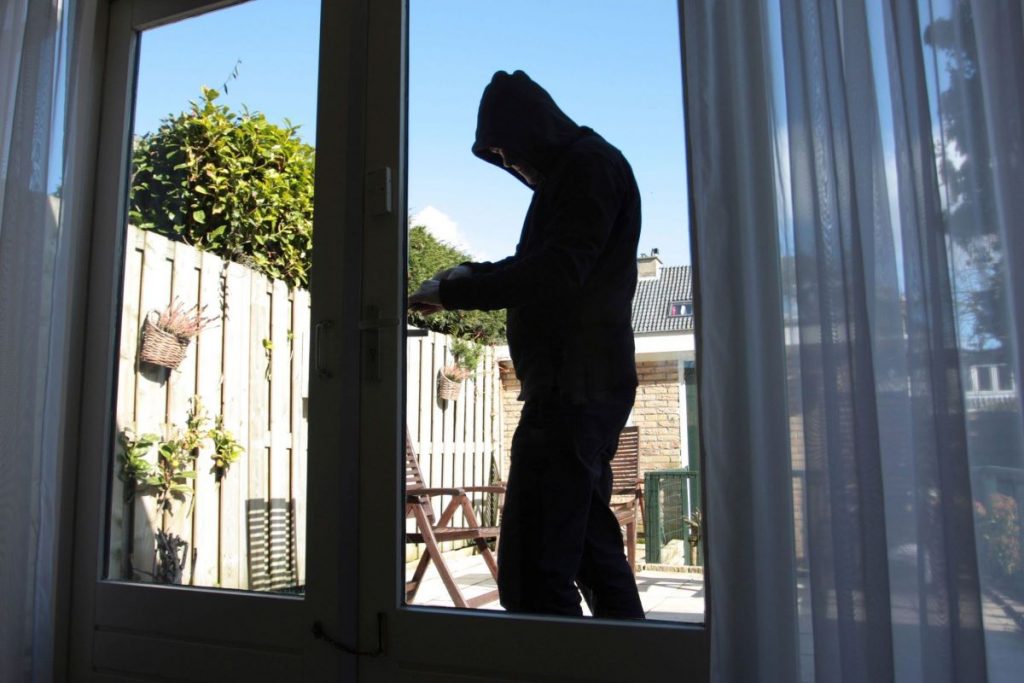
These rooms have reinforcement and plenty of supplies so anyone inside remains safe for a longer period of time. Not only can these rooms be helpful in a storm situation, but they can also protect people in case of a burglary or other emergencies!
If you are thinking about adding a reinforced room to your home or business, there are many things to consider before you start to build. We have created a helpful guide to teach you how to build a panic room in your existing building. Keep reading to learn more!
Phase 1: Research
Your very first step needs to be research! You need to know building codes in your area and the methods and materials used in reinforcing a room.
The government noticed the benefits of adding a panic room for natural disasters and went to work planning a guide to building a room safe enough to protect the inhabitants from the disaster. After great deliberation, the Federal Emergency Management Agency (FEMA) released a document entitled “Safe Rooms for Tornadoes and Hurricanes: Guidance for Community and Residential Safe Rooms” or FEMA 361.
This document outlines how to plan and build a room safe enough to protect people from flying debris traveling at high velocity which happens during tornadoes. Use FEMA document 361 often as you are going through the construction process.
Knowing where to build your panic room is also important. As any real estate agent can tell you, it’s all about location, location, location! You do not want your reinforced room to be upstairs or too far away from the main living areas.
The best place to put your panic room is underground, like in a basement. If you do not have a basement and codes prohibit building subterranean rooms, a garage is your next best option.
You can’t move on to the planning stage until you know how to plan a build a reinforced structure the correct way. It’s worth the time to do thorough research so you know what you are doing.
Phase 2: Planning
If you don’t plan well, you’ll encounter problems during your build. You could also end up with a subpar panic room that may not protect you and your loved ones.
The first thing you need to decide during the planning stage is what you need protection from and how many people will need to fit inside. You can build the room into your existing home, or put it somewhere else on your property, separate from the home.
Making a detailed plan or blueprint is key to ensuring your build goes on without a hitch. Be sure to pay close attention to the guidelines found in FEMA 361.
For those who lack the skills for making a blueprint from scratch, you can buy one and change it or hire an architect to plan a custom room for you! Be sure to let the architect know your budget before they get started.
After the blueprint is ready, order and gather all the supplies you’ll need for the construction phase. It’s best to have all the materials you need before you begin so there are no unnecessary delays.
Phase 3: Constructing a Safe Room
Now it’s time to get down to brass tacks and put hammers to nails. Whether you have a team of construction workers or if you’re doing the whole build yourself, you should remain engaged during this phase. Making errors during construction is often costly and time-consuming.
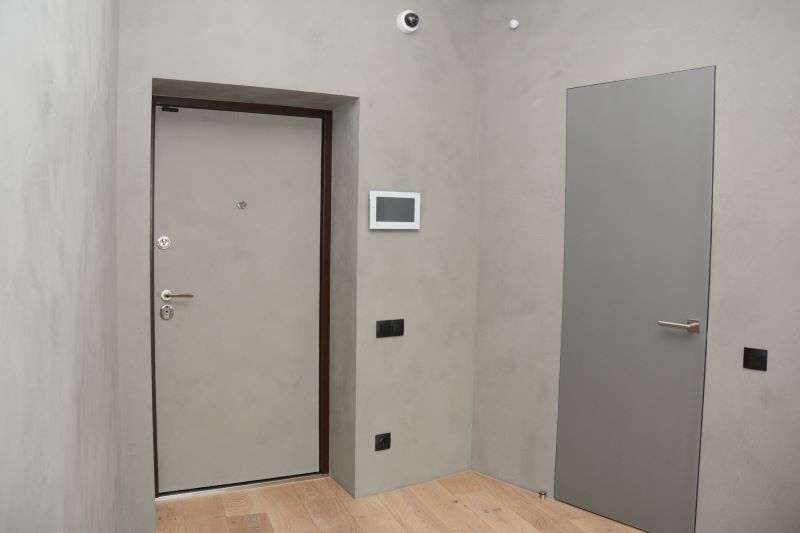
Make sure to install heavy-duty doors and windows. Even the ceiling should have reinforcements so it does not cave in while people are inside. You want every access point reinforced for the greatest protection.
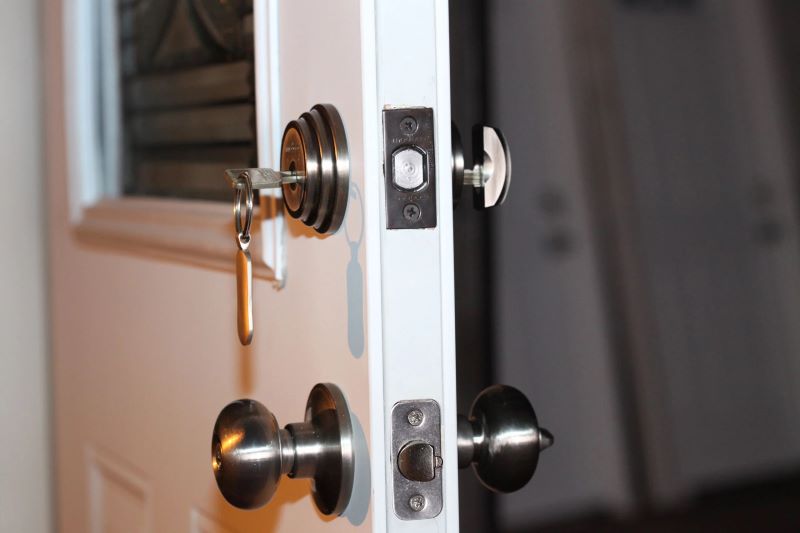
Locks are an important safety feature as well. You can go for a high-end lock with bio scanners or a simple deadbolt lock, either one will secure the room from weather and/or intruders.
Phase 4: Stocking and Furnishing
Your room is strong and reinforced according to the specifications in your blueprint and it is ready to go. Now, what do you put in it?
Make sure you have enough of the essentials for each person in the room to last several days or weeks. You’ll want at least 3 gallons of water per person and more food (the freeze-dried, non-perishable kind) than you think you’ll need.
Keep in mind that you’ll need to rotate your food items to make sure you don’t end up in an emergency where you and your loved ones are relying on expired food for survival.
Also, be sure to bring other supplies like batteries, a radio, first aid, and blankets when you are stocking the room. Flashlights will do you no good without batteries to power them!
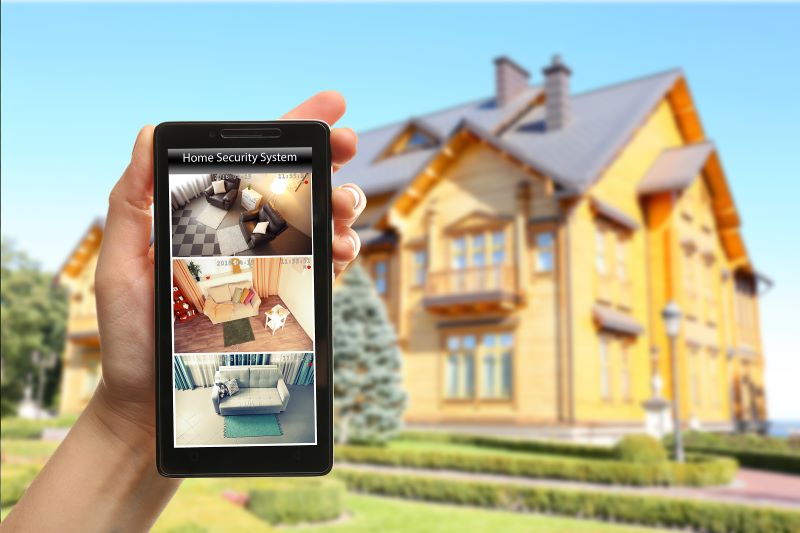
Got more room in your budget, why not make your panic room more comfortable in case you have to stay there a few days? A surveillance system to watch the outside of the panic room while you are safe inside is a great upgrade to any basic panic room.
No Need to Panic When You Have a Panic Room
Having a safe room gives you peace of mind that everyone in the room will be safe in a variety of emergency situations. The upfront cost is a drop in the bucket when you consider the value of human lives saved by panic rooms.
We hope this article was very informative for you and helps jump start your panic room building plans. If you have other tips for people like you looking to build their own panic rooms, please leave a comment below!